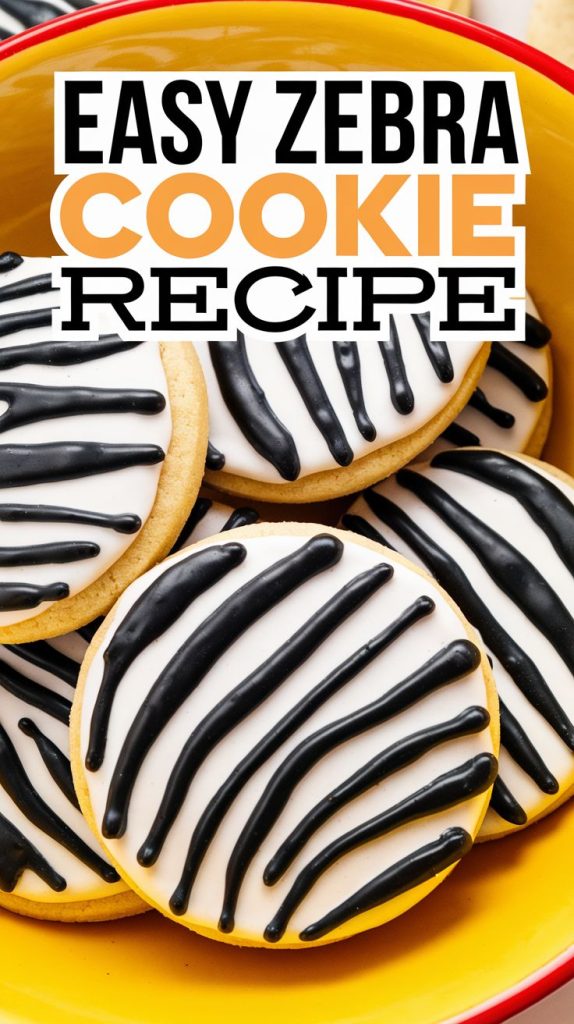
Baking cookies is magical. I remember making cookies with stripes for the first time. They were inspired by my grandmother’s zebra cookie recipe.
The mix of chocolate and vanilla made them look like art. It brought back memories of spending time in her kitchen. These treats are not just pretty; they’re perfect for any event.
They make everyone happy. This easy recipe is great for beginners and seasoned bakers alike. It brings joy and creates memories for all.
Key Takeaways
- The zebra cookie recipe is visually stunning with its black and white patterns.
- These cookies are perfect for celebrations or casual gatherings.
- They are a fun and easy baking project for novice bakers.
- The recipe brings a touch of nostalgia for those familiar with striped treats.
- Uplifting time in the kitchen can create lasting memories.
Introduction to Zebra Cookies
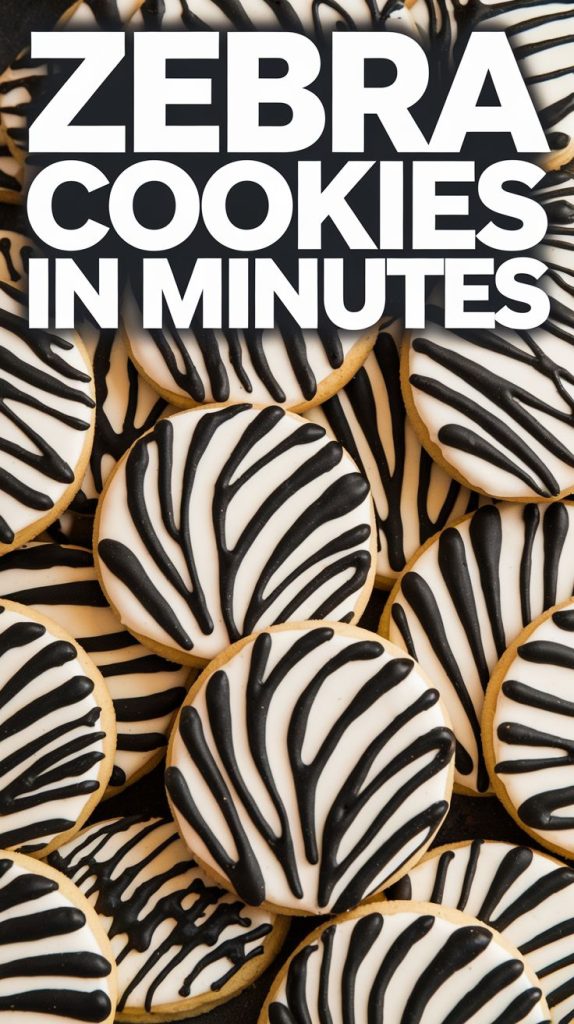
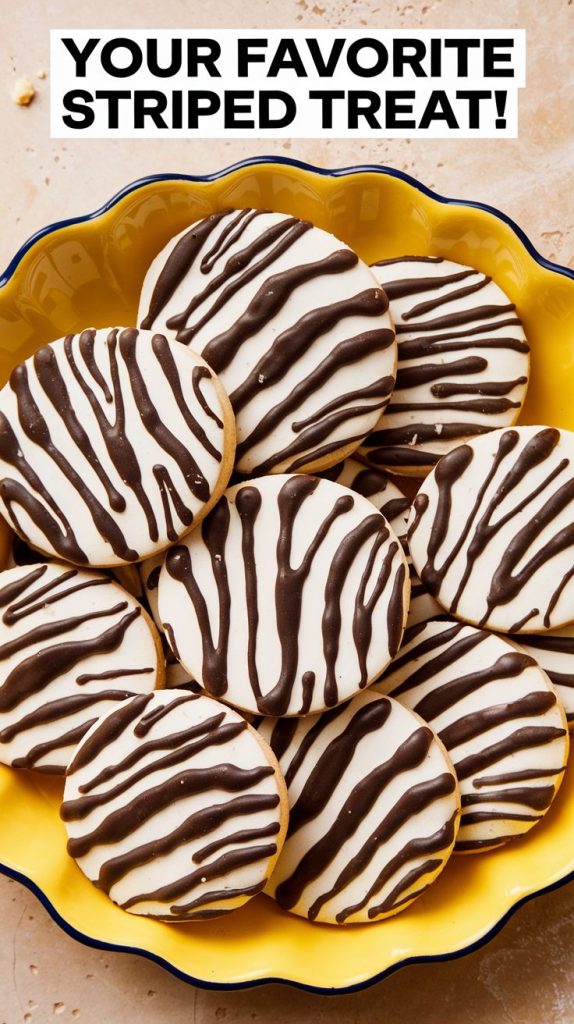
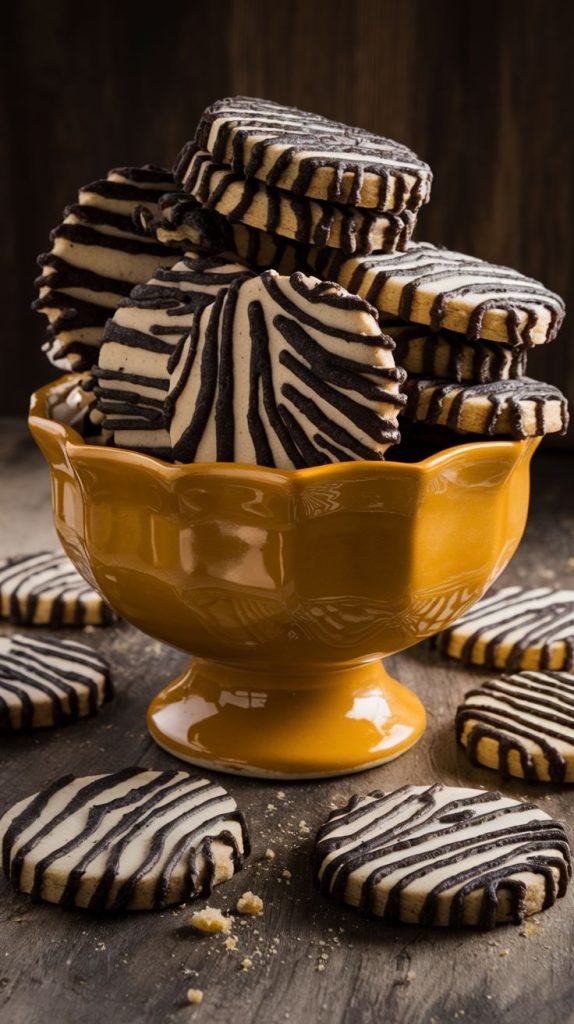
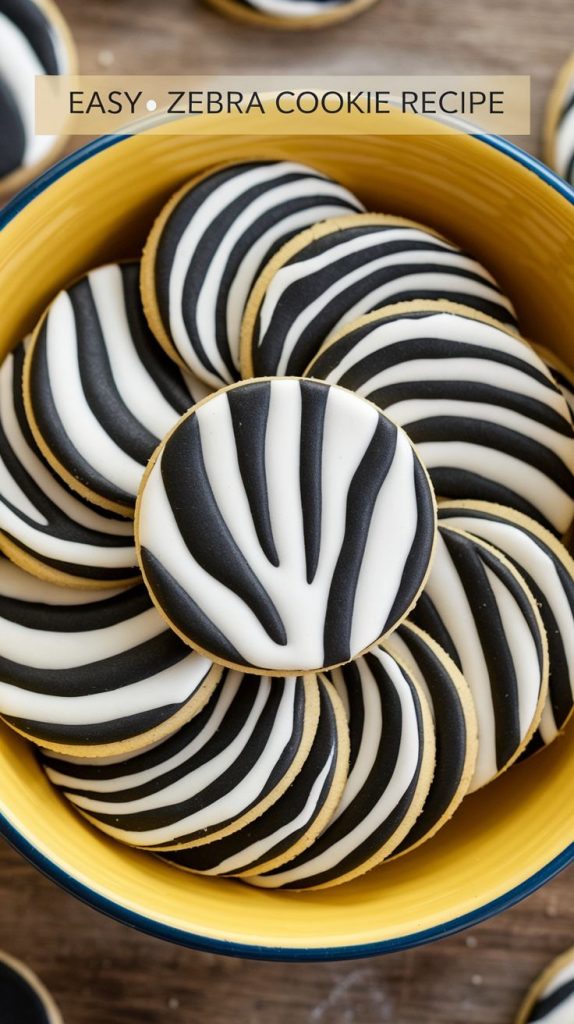
Zebra cookies are loved for their chocolate stripes. They taste great and look amazing. Their zebra print makes them a hit with bakers.
These cookies are inspired by animal prints. They add fun to any dessert table. They’re perfect for baking with family or friends.
Making chocolate striped cookies together is special. It brings people closer and creates memories. It also makes kids excited about baking.
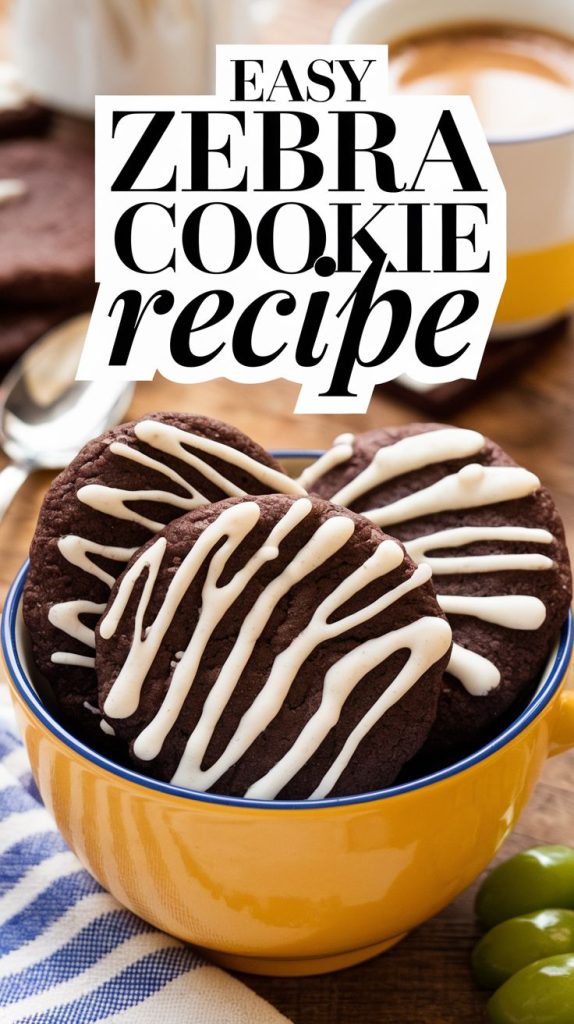
What are Zebra Cookies?
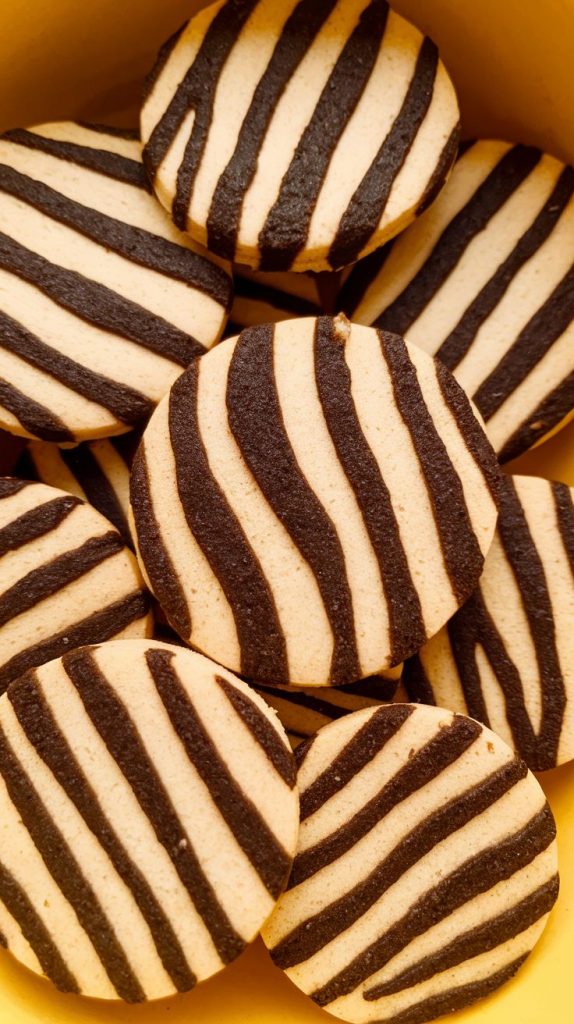
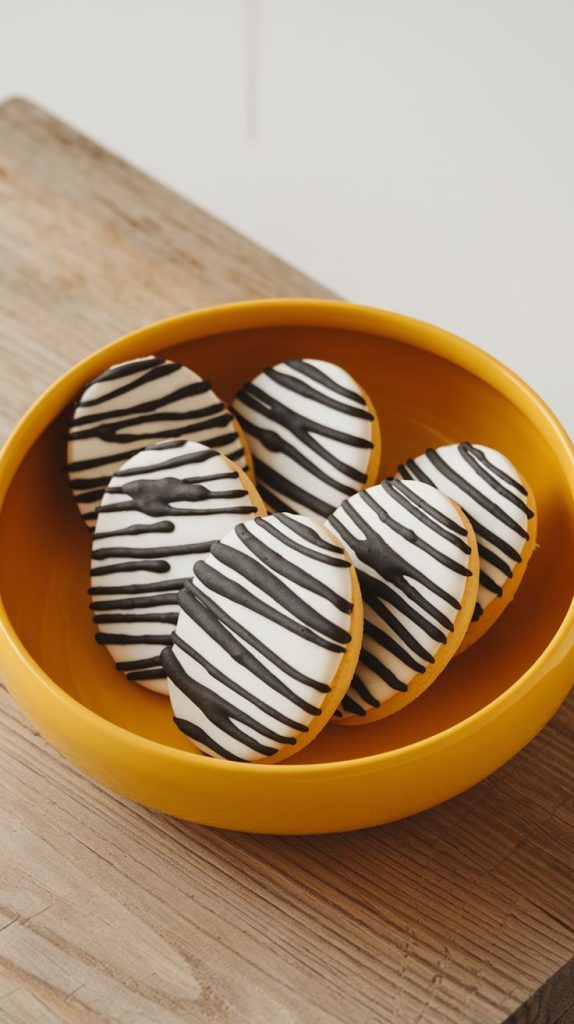
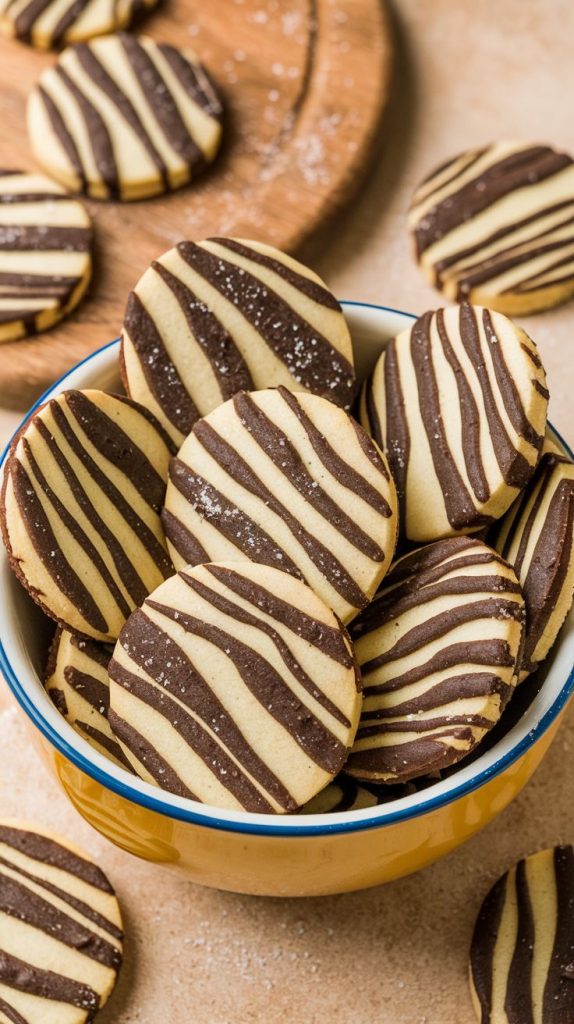
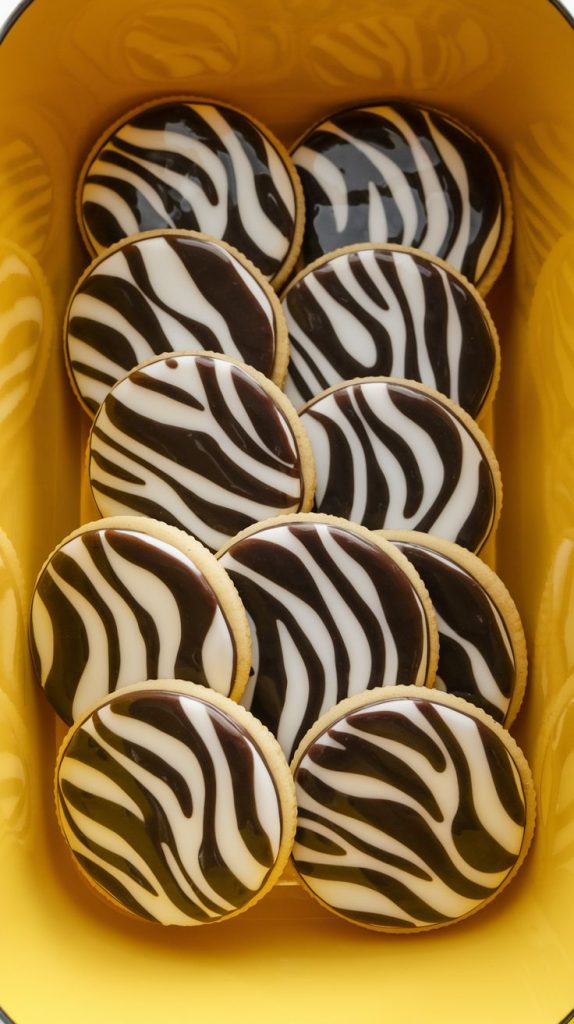
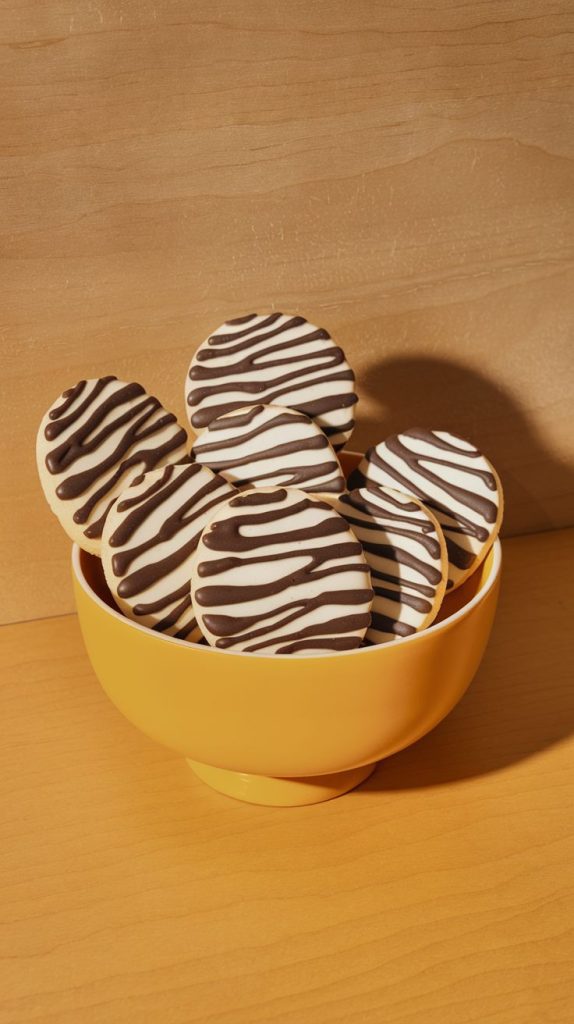
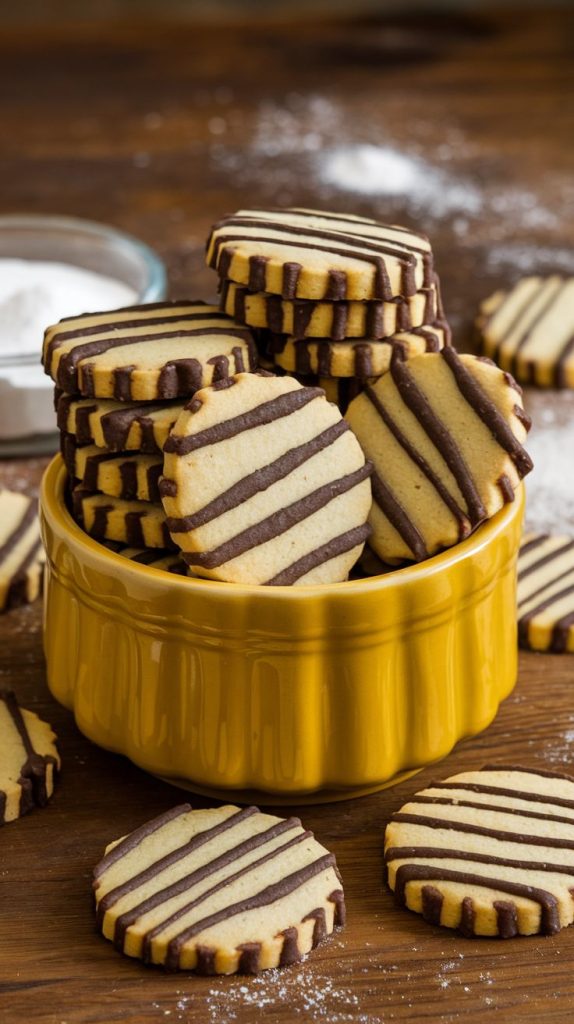
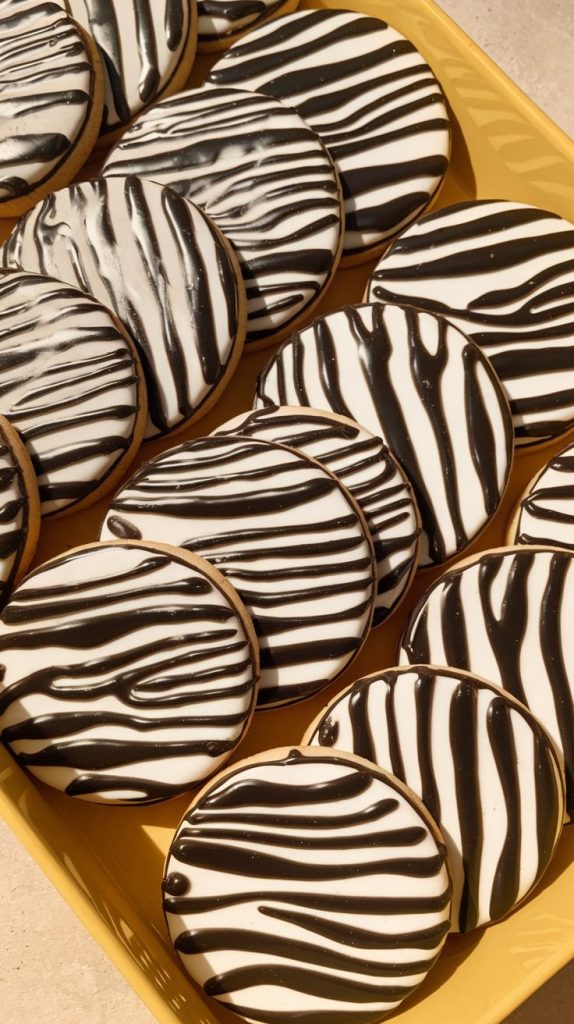
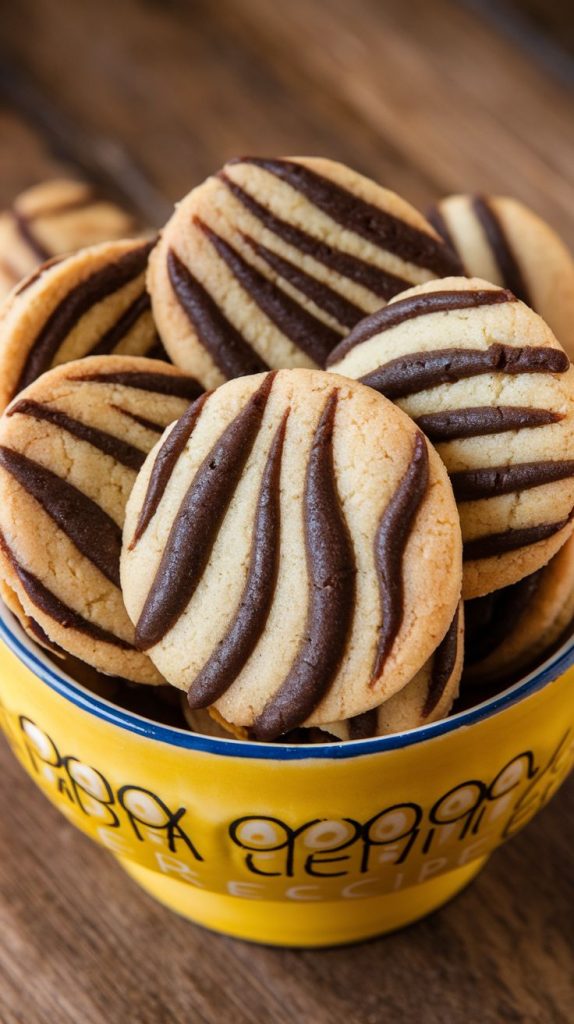
Zebra cookies are fun treats with dark chocolate and vanilla stripes. They look like a zebra. These treats are not only pretty but also taste amazing.
The mix of chocolate and vanilla is perfect. It makes each cookie special. You get a mix of deep chocolate and sweet vanilla in every bite.
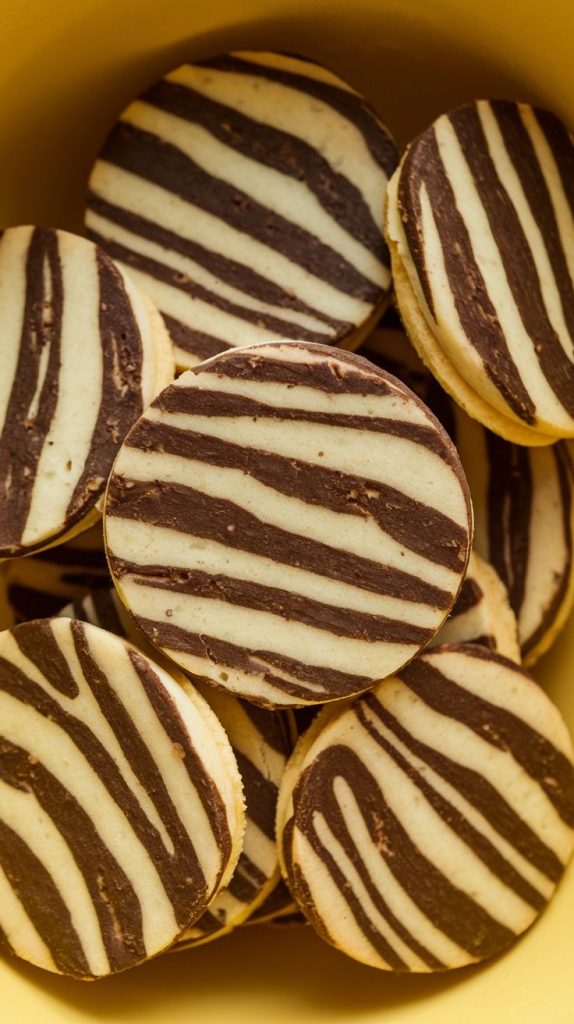
These cookies are chewy yet crisp. Each bite is a delight. You can also add nuts or different chocolates to make them even more special.
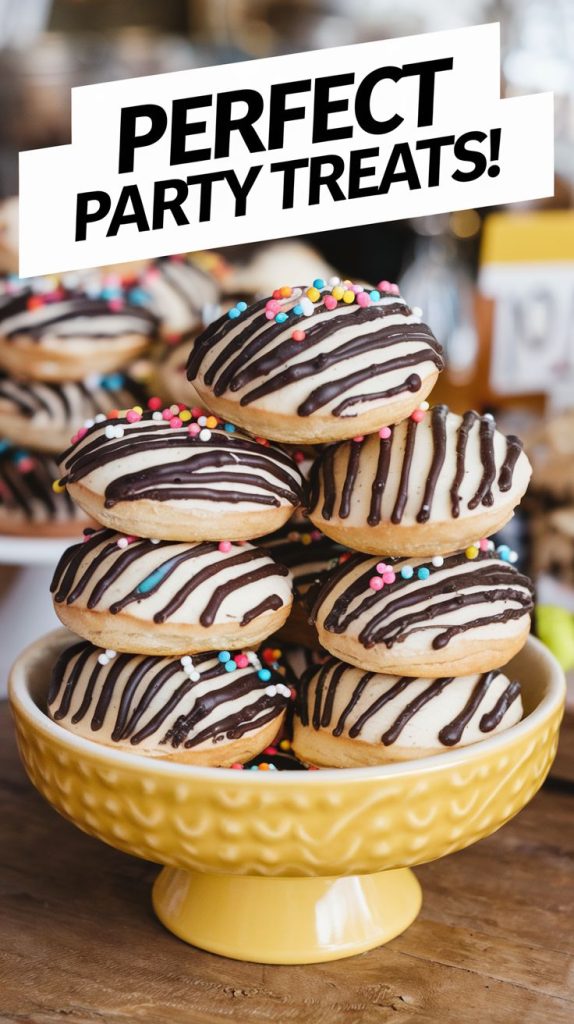
Zebra cookies are great for parties. They look cool and everyone loves them. They’re a hit at any gathering.
Zebra Cookie Recipe
Making zebra cookies is fun. You need the right ingredients and tools. Good stuff makes them taste better and feel softer.
Ingredients for Zebra Cookies
- 2 cups all-purpose flour
- 1 cup granulated sugar
- ½ cup unsalted butter, softened
- 2 large eggs
- ¼ cup cocoa powder
- 1 tsp vanilla extract
These ingredients make the cookies look cool. They have a black-and-white marbled look. Choose fresh ingredients for the best taste.
Equipment Needed
- Mixing bowls
- Rubber spatula
- Baking sheets
- Parchment paper
- Measuring cups and spoons
- Electric mixer or whisk
Good tools help you bake better. I picked these to make baking easy. Now, I’m ready to bake these yummy cookies!
Step-by-Step Instructions
Making zebra cookies is fun. This easy recipe helps everyone, from newbies to pros, make these cool treats.
First, heat your oven to 350°F (175°C). While it warms up, get all your ingredients ready. Use a kitchen scale for the best results.
Next, mix softened butter and sugar until fluffy. Add an egg and vanilla for extra taste. Then, mix flour, cocoa, and salt in another bowl. Slowly add the dry stuff to the wet mix until it’s smooth.
To make the zebra stripes, split the dough in two. Keep one plain and mix cocoa into the other. Roll out both doughs into strips. Layer them, press gently, and shape into a log. Wrap it in plastic wrap and chill for 30 minutes.
After chilling, cut the dough log into pieces. Put them on a baking sheet lined with parchment paper. Make sure they have space to spread. Bake for 10 to 12 minutes, until they’re a bit crispy but still soft.
Let the cookies cool on a wire rack. This makes them even better. Enjoy them with coffee or tea!
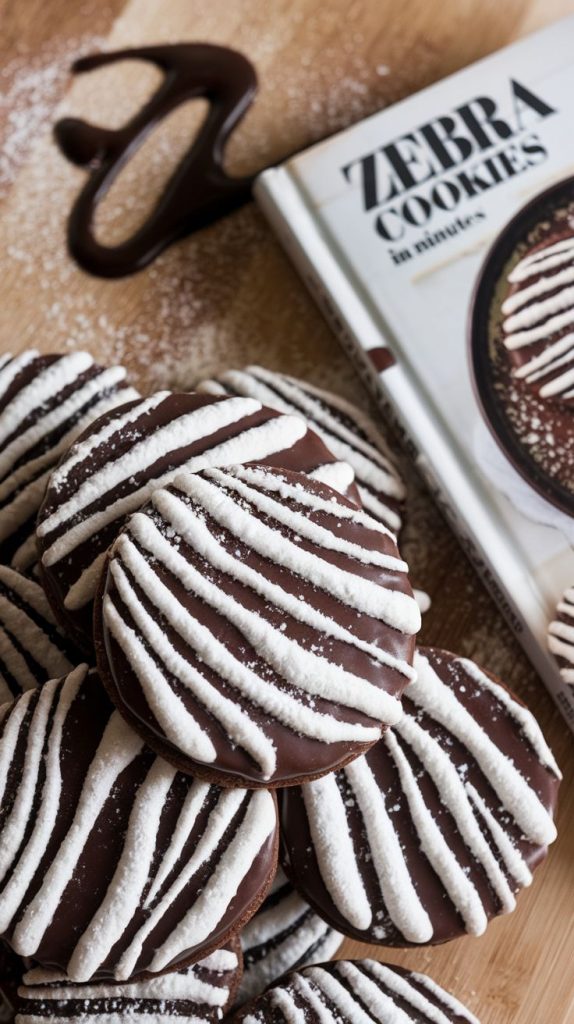
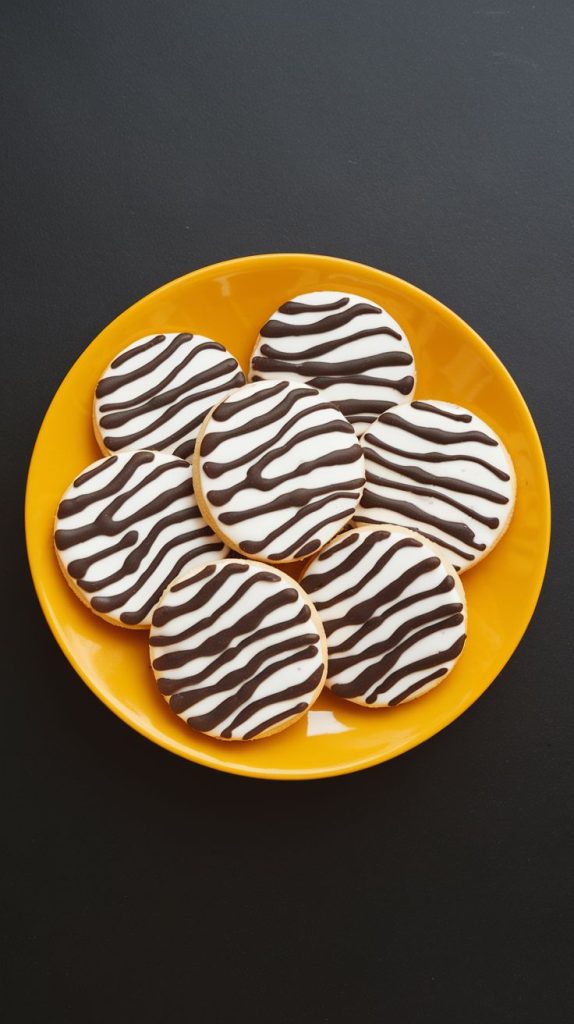
Tips for Perfect Chocolate Striped Cookies
Making yummy chocolate striped cookies starts with picking the best ingredients. Each part is key to the cookie’s taste and feel. I always choose the best cocoa powder and butter for my cookies.
Choosing the Right Ingredients
When picking ingredients for chocolate striped cookies, I focus on a few things:
- Cocoa Powder: Choose high-quality cocoa powder for a deep flavor. It makes your cookies taste amazing.
- Butter: Fresh, unsalted butter is best. It makes the cookies soft and creamy.
- Flour: Use all-purpose flour for a good base. Make sure to measure it right to avoid thick cookies.
- Sugar: Granulated sugar adds a sweet crunch. Brown sugar brings moisture and a caramel taste.
Mixing and Shaping the Dough
Mixing the dough right is key. I make sure to:
- Mix the ingredients until they just come together. Too much mixing can make the cookies hard.
- Chill the dough for at least 30 minutes. This makes it easier to shape.
- For the stripes, roll each dough piece together. This creates a beautiful marbled look.
Creative Cookie Decorating Ideas
Cookie decorating is so much fun. It turns yummy treats into beautiful art. I love trying new ways to make zebra cookies special.
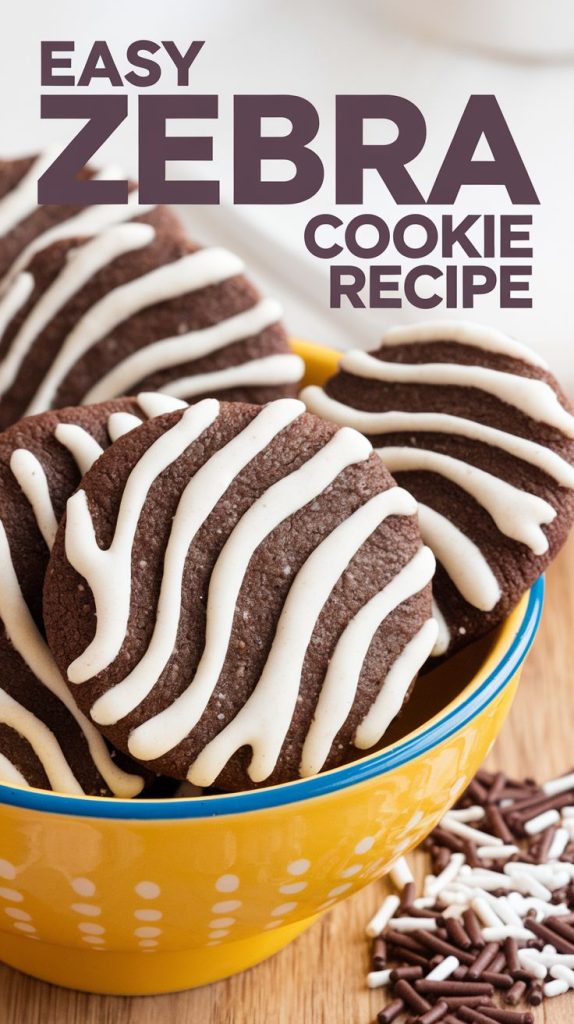
Using royal icing is a great way to add designs. It comes in many colors. I can make cool patterns or just a simple border. Sprinkles make the cookies fun for any event. Edible glitter adds a sparkly touch.
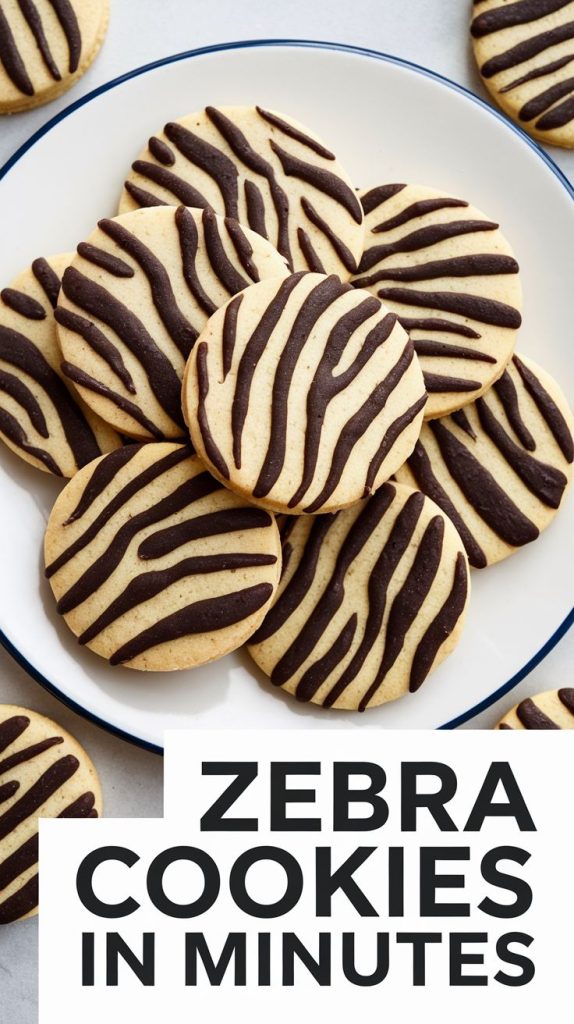
Decorating cookies for holidays or special days is my favorite. I think of fun themes like hearts for Valentine’s or spooky for Halloween. It’s a great way to have fun, even with kids.
- Use food coloring to tint the icing in seasonal shades.
- Incorporate stencils for fun shapes like stars or flowers.
- Dip half the cookie in chocolate for a contrasting design.
- Add edible eyes for whimsical animal faces.
Every time I bake, I get to try new cookie designs. Let your imagination soar and have fun!
| Decorating Item | Effect |
|---|---|
| Royal Icing | Precise designs, vibrant colors |
| Sprinkles | Adds texture and color |
| Edible Glitter | Shimmery visual appeal |
| Food Coloring | Seasonal or themed colors |

Fun Cookie Designs for Kids’ Baking Projects
Baking with kids is super fun. We make cool cookie designs together. It’s a great way to be creative and make memories.
Getting Kids Involved in Baking
Teaching kids to bake is fun. Here’s how I get them involved:
- Let them pick cookie cutters in fun shapes.
- Add colorful sprinkles and icing for creativity.
- Teach them to measure to learn about sizes.
- Give each child their own dough ball to decorate.
Making Baking a Fun Experience
Make baking fun to keep kids interested. Here’s how:
- Choose a theme for your cookies, like holidays or animals.
- Play music to make it more fun.
- Ask kids to name their cookies after they’re done.
- Use a timer to add excitement.

Variations on Zebra Print Biscuits
Making zebra print biscuits is fun. It lets you try new flavors and looks. I enjoy adding special touches to the classic recipe.
Using Different Flavors and Colors
Try adding peppermint to the chocolate dough for a cool taste. Or, mix orange zest into the vanilla dough for a citrus twist. You can also color the vanilla part with food dye.
Think about using pink or green dye. This makes your biscuits look amazing.
Interchanging Ingredients for Unique Twists
Change up the ingredients for a new taste. Use almond flour for a nutty flavor. Or add coconut flakes for extra texture.
For a healthier option, try whole wheat flour. The choices are endless, just like your creativity!
Storing and Freezing Your Zebra Cookies
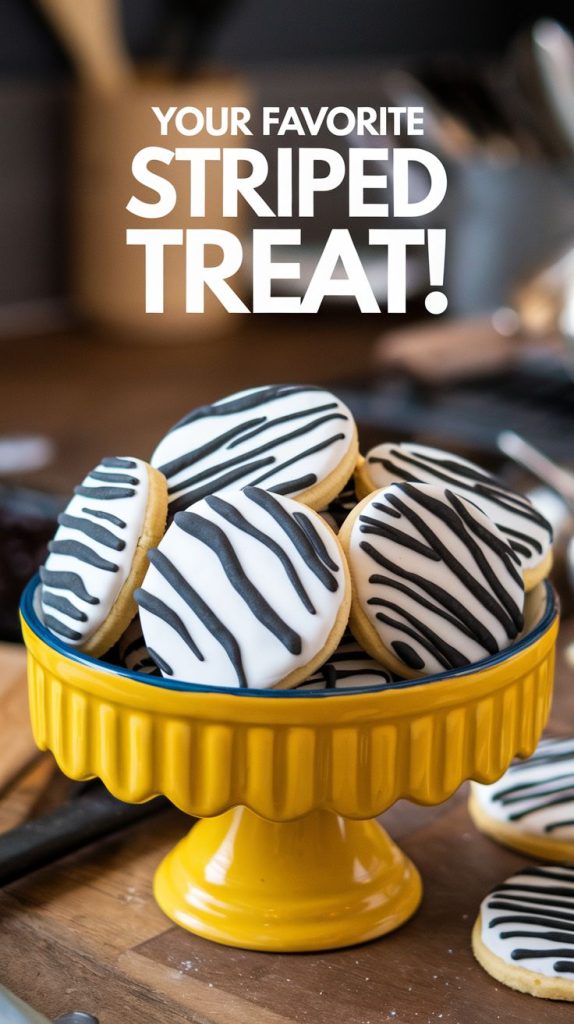
Keeping zebra cookies fresh can be hard. I found good ways to store them. Airtight containers are best; they keep air out and cookies soft.
I put parchment paper between layers to stop sticking. This keeps them fresh longer.
Freezing cookies is great for later. I cool them first, then freeze in a single layer. After, I put them in freezer bags, squeezing out air.
This keeps them fresh for up to three months. It’s a smart way to save cookies.
To enjoy frozen cookies, thaw them at room temperature for 30 minutes. Then, I warm them in the oven for a few minutes. It makes them taste like they just came out of the oven.
Here’s a quick table that explores different storage options for zebra cookies:
| Storage Method | Duration | Notes |
|---|---|---|
| Airtight Container | 1 week | Keep cookies soft and prevent hardening. |
| Freezer (Baked) | 3 months | Maximize freshness by sealing tightly. |
| Freezer (Dough) | 3 months | Freeze individual dough portions for easy baking. |

Serving Suggestions for Black and White Treats
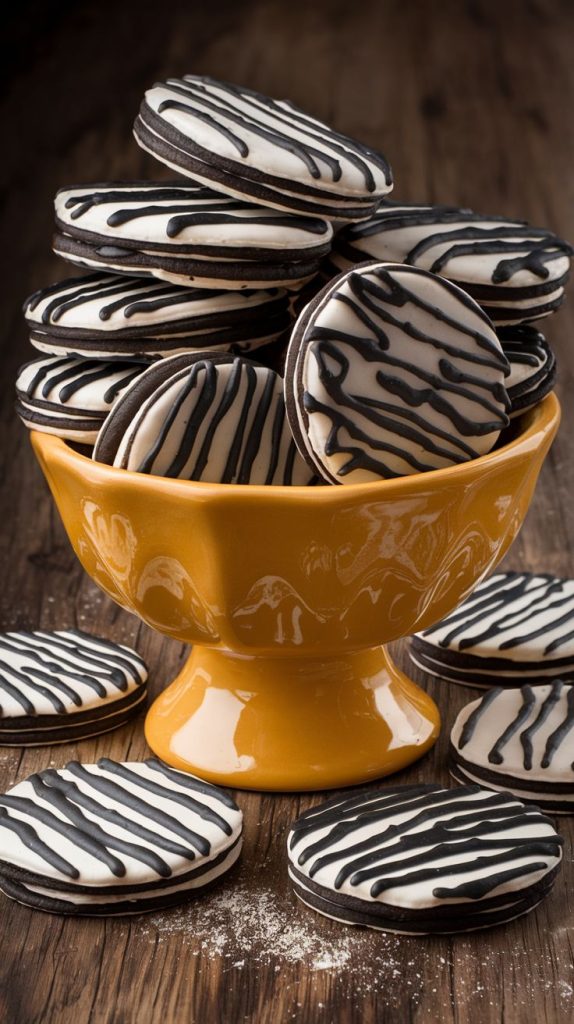
There are many fun ways to serve my zebra cookies. A favorite is with a cold glass of milk or a warm coffee. The chocolate and milk mix is a perfect snack for any time.
For special events, I put these cookies on a dessert tray. They look great with other colorful treats. This makes them perfect for parties or any fun event.
These cookies are great for any event, big or small. They always make people happy. So, get creative with how you serve them. They’re sure to be a hit!
Pingback: 9 Simple Cookie Recipes to Sweeten Your Day - Feast Flick