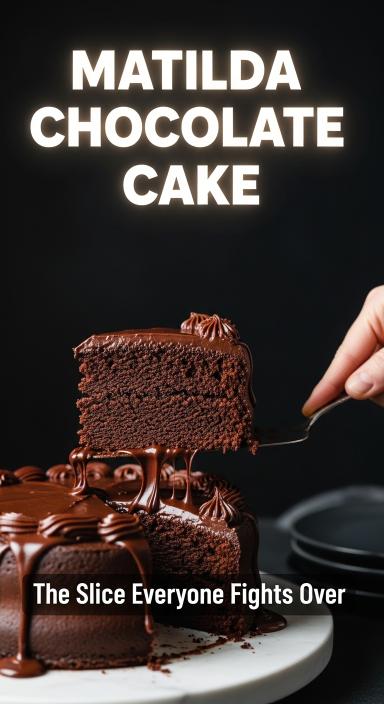
Growing up, Roald Dahl’s stories were a big part of my life. “Matilda” was special, not just for its story but also for its chocolate cake. The cake, with its chocolate and thick frosting, was a childhood dream of mine.
Now, as an adult, I’ve tried to make that cake in my kitchen. Every time, it’s a hit at parties, just like Matilda’s cake was in the story. Let’s explore the world of chocolate together. I’ll show you how to make your own delicious matilda cake recipe, a favorite in America!
Recipe Overview
Peanut Butter Pie is a rich, creamy, no-bake dessert featuring a smooth peanut butter filling layered in a crunchy cookie crust and topped with whipped cream or chocolate drizzle. This indulgent dessert combines the sweet and salty flavors of peanut butter with a light, fluffy texture that melts in your mouth. It is perfect for holidays, family gatherings, or whenever you want an easy yet impressive dessert.
Prep Time
20 minutes
Chill Time
4 hours
Total Time
4 hours 20 minutes
Servings
8 servings
Cuisine
American
Difficulty
Easy
Ingredients
For the Crust
- 1½ cups chocolate cookie crumbs (such as Oreo crumbs)
- 6 tablespoons melted butter
- 1 tablespoon granulated sugar
For the Peanut Butter Filling
- 1 cup creamy peanut butter
- 8 ounces cream cheese, softened
- ¾ cup powdered sugar
- 1 teaspoon vanilla extract
- 1 cup heavy whipping cream
For the Topping
- 1 cup whipped cream
- 2 tablespoons chocolate syrup or chocolate shavings
- 2 tablespoons chopped peanuts (optional)
Equipment Needed
Kitchen Tools
- Mixing bowls
- Electric mixer or hand mixer
- Spatula
- 9-inch pie dish
- Measuring cups and spoons
Instructions
Step 1: Prepare the Crust
In a mixing bowl combine the chocolate cookie crumbs, melted butter, and sugar. Stir until the mixture resembles wet sand.
Press the crumb mixture firmly into the bottom and sides of a pie dish to form an even crust.
Place the crust in the refrigerator for 15–20 minutes to firm up.
Step 2: Make the Peanut Butter Filling
In a large bowl beat the cream cheese until smooth.
Add the peanut butter, powdered sugar, and vanilla extract. Mix until creamy and well combined.
Step 3: Whip the Cream
In a separate bowl beat the heavy whipping cream until stiff peaks form.
Step 4: Combine the Filling
Gently fold the whipped cream into the peanut butter mixture until smooth and fluffy.
Step 5: Assemble the Pie
Spread the peanut butter filling evenly into the prepared crust and smooth the top with a spatula.
Step 6: Chill the Pie
Place the pie in the refrigerator and chill for at least 4 hours or until fully set.
Step 7: Add Toppings
Before serving, top the pie with whipped cream, chocolate syrup or chocolate shavings, and chopped peanuts if desired.
Step 8: Serve
Slice the pie and serve chilled.
Serving Suggestions
Best Ways to Serve
Serve peanut butter pie chilled with extra whipped cream and a drizzle of chocolate syrup.
Optional Garnishes
- Crushed peanut butter cups
- Chocolate chips
- Caramel drizzle
- Cookie crumbs
Pro Tips
Use Creamy Peanut Butter
Creamy peanut butter creates the smoothest filling texture.
Chill Thoroughly
Allow enough chill time so the pie sets properly and slices cleanly.
Make It Extra Chocolatey
Add a thin layer of melted chocolate over the crust before adding the filling.
Storage
Refrigerator
Store the pie covered in the refrigerator for up to 4 days.
Freezer
Freeze the pie for up to 2 months. Thaw in the refrigerator before serving.
Nutrition Information (Approximate Per Serving)
Calories
450 kcal
Carbohydrates
30 g
Protein
9 g
Fat
34 g
Sugar
20 g
Key Takeaways
- Discover the origins of the Matilda chocolate cake and its literary inspiration.
- Learn about the essential ingredients that contribute to a rich flavor.
- Follow step-by-step instructions for baking success.
- Explore decorating ideas that can make your cake unique.
- Find tips to troubleshoot common baking issues.
- Consider variations for dietary needs and flavor twists.
Introduction to Matilda Chocolate Cake
The matilda chocolate cake is a delightful treat that brings Roald Dahl’s stories to life. It combines rich chocolate with a touch of childhood wonder. This cake is inspired by classic American desserts, using simple yet tasty ingredients that everyone loves.
Origin and inspiration of the recipe
The matilda chocolate cake comes from Roald Dahl’s magical world, featuring Matilda. It captures the playful spirit of Dahl’s stories. Thinking of this cake brings back memories of laughter and joy, making it a favorite for all ages.
Why it’s a favorite in American kitchens
This cake is loved in American homes for its easy making and delicious taste. It’s perfect for gatherings, birthday parties, or a sweet treat after a long day. Its rich design and sentimental value make any occasion special, keeping it a beloved recipe in many kitchens.
Key Ingredients for the Perfect Cake
When making the matilda chocolate Recipe, the ingredients you choose are key. They make the cake not just tasty but also have the right texture. Using top-notch ingredients boosts the flavor and makes every bite special.
Essential chocolate types for richness
For a cake that’s rich and decadent, picking the right chocolate is vital. Dark or semi-sweet chocolate adds a deep flavor. The quality of chocolate greatly affects the cake’s taste.
I like using Ghirardelli or Callebaut for their strong flavors. When melted and mixed into the batter, these chocolates make the cake incredibly rich and tempting.
Quality of flour and sugar variations
The flour and sugar are crucial in the matilda chocolate cake. Cake flour makes the cake soft and tender. All-purpose flour, on the other hand, can make it denser.
I use granulated sugar for sweetness and add brown sugar for a hint of flavor. Brown sugar adds moisture and enhances the taste, making the cake even more enjoyable.
Eggs: The secret to a fluffy texture
Eggs are the secret to a great cake, including the matilda chocolate Recipe. They help bind the ingredients and add structure. But their main role is to make the cake light and fluffy.
Using fresh, large eggs helps with aeration during mixing. This leads to a cake that rises well and feels airy. This is key for the cake’s signature fluffiness.
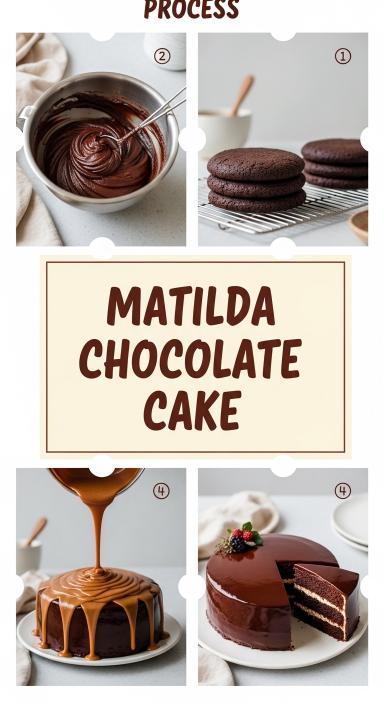
Step-by-Step Instructions
To make the perfect Matilda chocolate cake, follow a step-by-step guide. Each step is crucial for a delicious result. Start by preparing the baking pan, then mix the ingredients carefully. Knowing the right baking time and temperature is key for that moist, rich taste.
Preparing the baking pan
First, preheat your oven to 350°F. Grease the baking pan well to prevent sticking. I suggest lining the bottom with parchment paper for extra safety. This step is important for a successful matilda cake.
Mixing the wet and dry ingredients
Separate your wet and dry ingredients in different bowls. This avoids overmixing, which can make the cake dense. When you’re ready, mix the two together slowly. This method improves the cake’s texture and flavor, making it rich and delicious.
Baking time and temperature tips
Baking time and temperature are critical. Bake your Matilda cake for about 25 to 35 minutes. Keep an eye on it since oven temperatures can differ. Use the toothpick test to check if it’s done. If it comes out clean, your cake is ready. These tips help ensure your cake is moist and flavorful.
Decorating Your Matilda Chocolate Cake
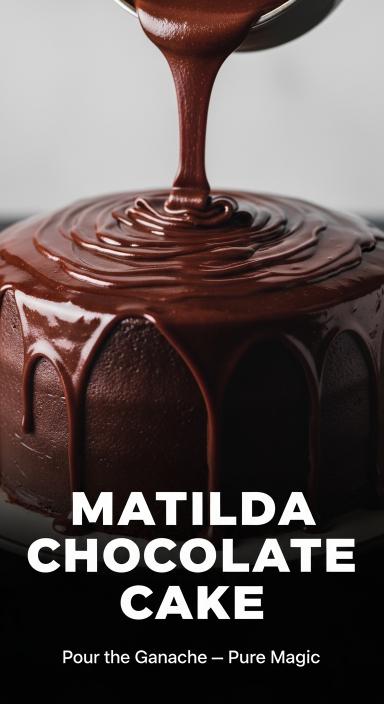
Decorating a matilda chocolate cake is the most fun part. The right frosting can make the cake even more delicious. I often choose classic buttercream frosting for its sweet, creamy taste. Chocolate ganache is great for those who love more chocolate. Whipped cream adds a light touch, making the cake feel even more indulgent.
Classic frosting options to try
Choosing the right frosting is key. Here are some classic choices:
- Buttercream Frosting
- Chocolate Ganache
- Whipped Cream
Each frosting option can give your matilda chocolate cake a unique flavor. This way, you can make it just how you like it.
Creative decoration ideas for any occasion
Decorating the cake is just as fun as baking it. Creative touches can turn your matilda chocolate cake into a stunning masterpiece. You can add:
- Edible sprinkles for a splash of color
- Chocolate shavings for a touch of elegance
- Seasonal fruits for freshness and vibrancy
These decorations not only make the cake look great but also enhance its flavors.
Adding personal touches for special events
For special occasions, I like to add personal touches. Tailoring the design to fit the event’s theme is rewarding. Simple color changes can completely change the cake’s feel. It’s perfect for any event, from big gatherings to small dinners. Adding a personal touch makes the event more joyful and memorable.
Tips for Baking Success
Baking can sometimes be unpredictable. Here are a few tips to ensure success with your Matilda Chocolate Cake. These insights can enhance your results and make preparation more enjoyable, whether you are a beginner or a seasoned baker.
Troubleshooting common baking issues
If your cake sinks in the middle, it might be due to underbaking or oven calibration problems. Always check your oven temperature with a reliable thermometer. This ensures accuracy.
If your cake doesn’t rise as expected, try using fresh baking powder or baking soda. Following the matilda Recipe closely will lead to better outcomes.
How to store and preserve your cake
To store your cake effectively, wrap it tightly in plastic wrap. Keep it in an airtight container. This method helps maintain the moisture and freshness of your cake for several days.
If you plan on enjoying your cake over a week, consider freezing individual slices wrapped in plastic. This allows you to savor a treat at your convenience.
Adapting the recipe for dietary needs
Adapting the matilda Recipe for dietary restrictions can open up delicious possibilities. For those with egg allergies, using substitutes like unsweetened applesauce or flaxseed meal can work well.
Also, gluten-free flours such as almond or coconut flour can make the cake accessible to everyone. Adapting recipes allows for creativity while ensuring that everyone can enjoy this delightful cake Recipe.

Alternative Variations of Matilda Chocolate Cake
Home bakers love to try new things with classic recipes like the Matilda chocolate cake. This cake can be made in many ways to suit different tastes and needs. By using different ingredients and methods, I can make my own special version of this treat.
Gluten-free options for ingredient substitutions
For those who can’t eat gluten, making a gluten-free Matilda chocolate cake is easy. You can use almond flour or a gluten-free cake mix instead of regular flour. These options keep the cake’s rich taste while making it safe for gluten-sensitive people to enjoy.
Adding flavors or fillings for a twist
To make the Matilda chocolate cake even better, I add new flavors. Raspberry jam adds a nice tartness to the sweetness. Adding espresso or coffee to the batter makes the chocolate taste even deeper and more complex.
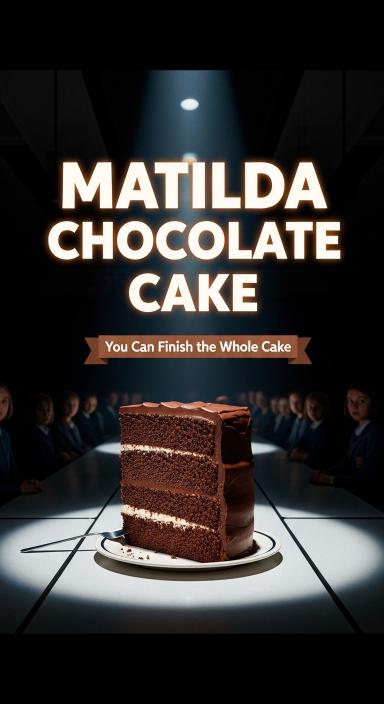
Creating a layered cake version
Layering the Matilda chocolate cake makes it look fancy and allows for more fun fillings and frostings. I can divide the cake into layers and fill them with things like salted caramel, vanilla buttercream, or whipped cream with strawberries. This not only looks great but also makes every bite a surprise.
Pairing Suggestions for Your Cake
Choosing the right drinks to go with my Matilda Chocolate Cake can really make the dessert better. A strong coffee or rich espresso is my go-to for this. They match the chocolate perfectly, bringing out the cake’s rich taste. For a sweeter option, chocolate or vanilla milk is great. If I’m feeling fancy, a glass of red wine adds a beautiful contrast.
Ideal beverages to complement the cake
- Coffee
- Espresso
- Milk
- Red wine
Complementary desserts for a full menu
I love to serve a variety of desserts with my Matilda Chocolate Cake. Fresh fruit tarts or fudgy brownies are perfect to balance the cake’s richness. They make a wonderful spread that’s sure to wow your guests.
Seasonal servings: when to enjoy this cake
The Matilda Chocolate Cake is perfect for any time of year. In spring, it’s a hit at garden parties. In winter, it’s a warm treat for cold gatherings. Its versatility makes it a great choice all year round.
What Makes Matilda Chocolate Cake Unique
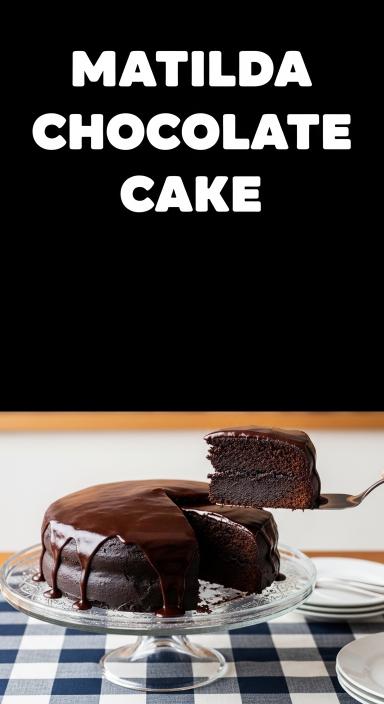
The Matilda chocolate cake is truly unique. Its deep chocolate flavor and moist texture make every bite a joy. This cake shows that simple ingredients can create something amazing.
Characteristics that set it apart
This cake is special because it combines richness with lightness. The mix of high-quality chocolate and simple ingredients makes each bite a flavor explosion. Plus, its beautiful appearance makes it a treat for the eyes and taste buds.
Why it’s perfect for celebrations
The Matilda chocolate cake is perfect for any celebration. It’s great for birthdays, anniversaries, or family gatherings. Its rich taste and stunning look make any event unforgettable. Sharing this cake with loved ones is truly special.
Reader Testimonials and Feedback
Hearing from fellow bakers can be inspiring! Many home bakers love to share their experiences with the Matilda Chocolate Cake. This cake is a family favorite because of its rich taste and moist texture. Kids often prefer it over other desserts, making it perfect for special occasions.
Sharing experiences from home bakers
Reading through testimonials is heartwarming. People share how they’ve made the Matilda Cake a part of their family gatherings. They often decorate it with unique touches, showing off their creativity.
Popular adaptations and suggestions
Many bakers have tried different frosting flavors or fillings. Some choose peanut butter icing or a fruity layer to give it a twist. These changes show how versatile the Matilda Chocolate Cake is, making it a hit among friends and family.
Conclusion: Baking Your Own Matilda Chocolate Cake
Baking your own Matilda chocolate cake is a fun and rewarding adventure. Start by picking the best ingredients for that rich chocolate taste. Follow the mixing and baking steps carefully, and get ready for your kitchen to smell amazing.
Once the cake is done, let your creativity run wild with decorating. You can go simple with frosting or get fancy with designs.
Creating your matilda cake is more than just baking. It’s a way to show your love for baking. Share your cake and stories with others to build a community of cake lovers. Your cake can inspire others to explore the world of chocolate.
So, get your ingredients ready and enjoy baking. This matilda chocolate cake recipe is just the beginning of your culinary adventures. I’m excited to hear about your cake and the special touches you’ve added to make it yours!