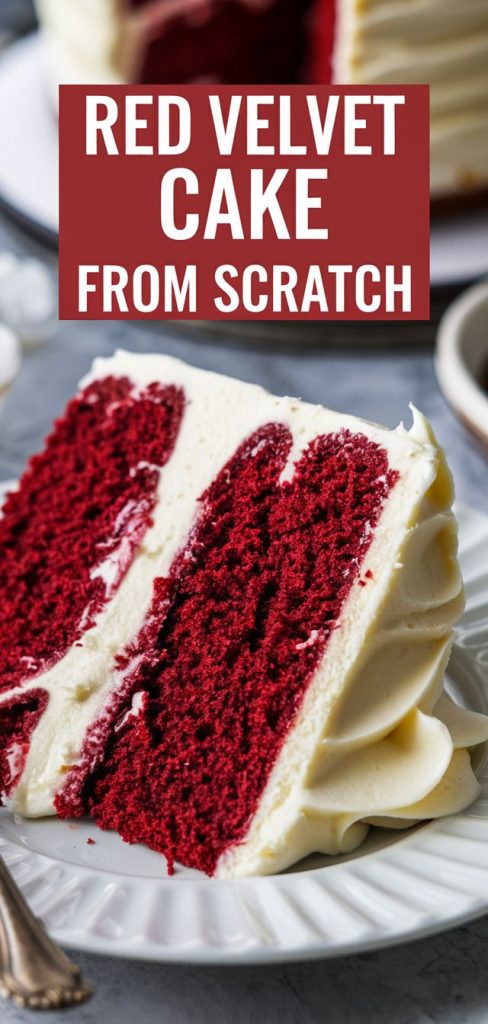
Red velvet cake is truly special. Its rich, vibrant color is unforgettable. I remember my first time making it from scratch.
As a kid, my grandmother made it for birthdays and holidays. The smell of cocoa and vanilla filled the air. It brought warmth and joy.
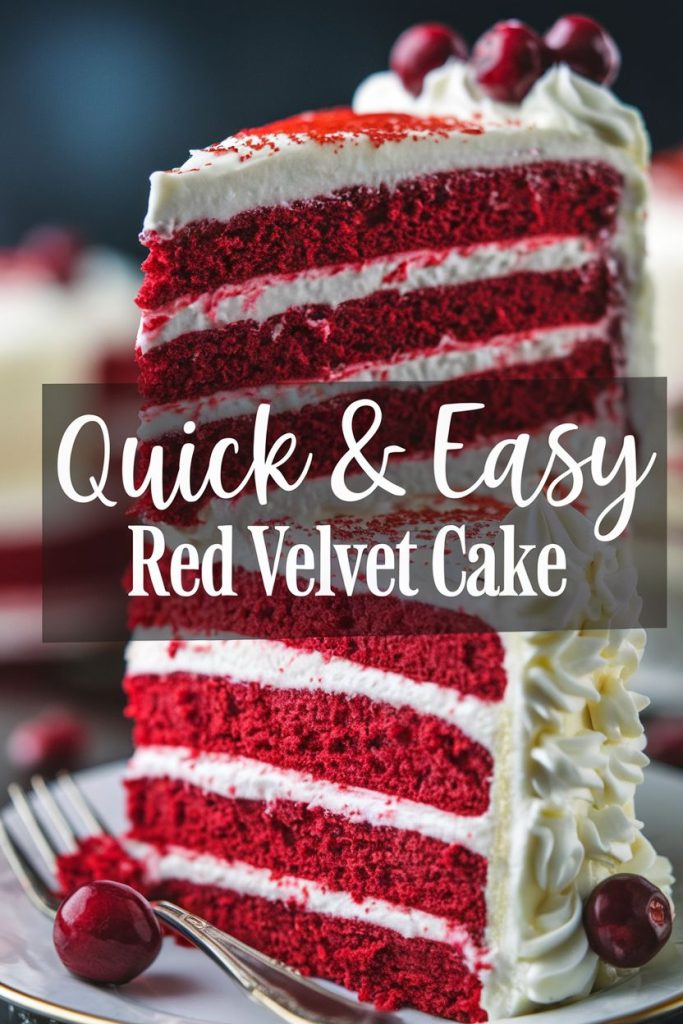
I loved waiting for that first slice. The cake’s velvety texture was amazing. Today, I want to share my Red Velvet Cake Recipe with you.
This recipe is delicious and full of history. It’s perfect for many occasions. So, let’s start baking together!
Key Takeaways
- Red velvet cake is known for its iconic vibrant color and rich flavor.
- This homemade cake recipe is perfect for a variety of celebrations.
- The combination of cocoa powder and buttermilk gives this dessert its unique taste.
- A deep dive into its fascinating history reveals the cake’s cultural significance.
- Mastering my Red Velvet Cake Recipe will surely impress your friends and family!
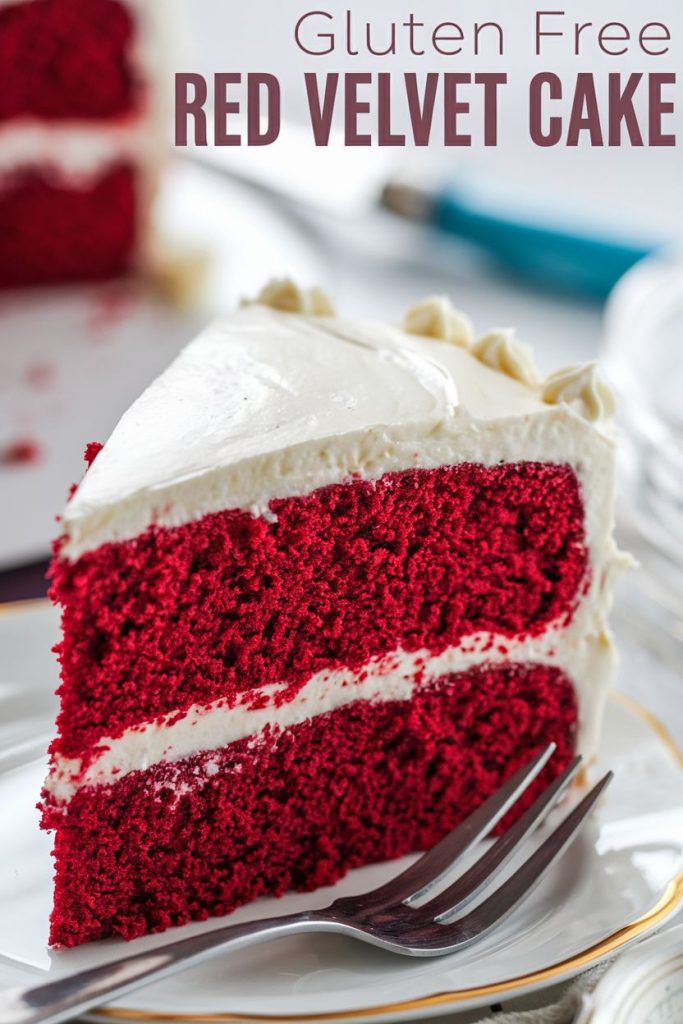
What Makes Red Velvet Cake Unique
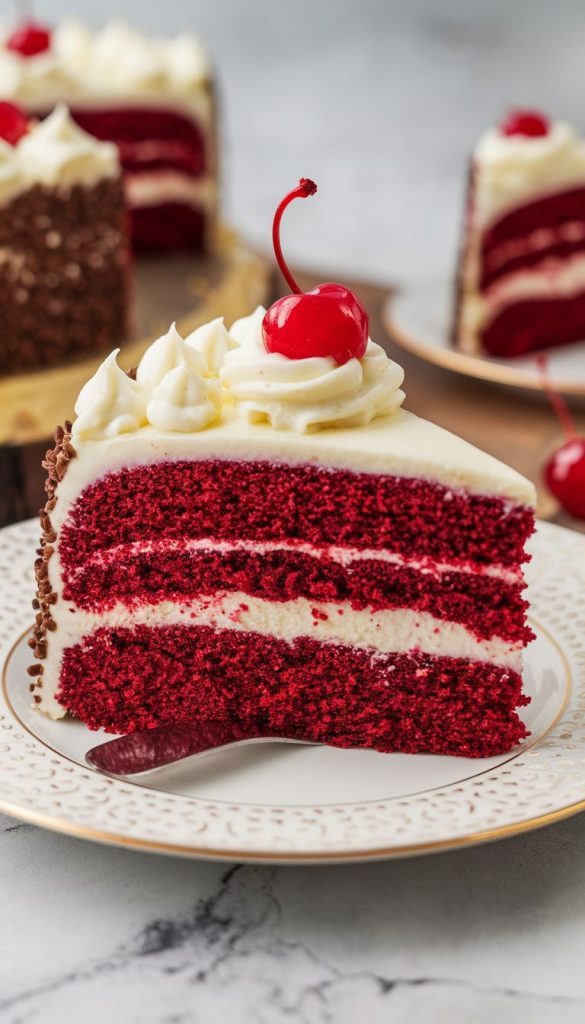
Red velvet cake is a favorite dessert. It’s loved for its rich taste and beautiful look. Its history is interesting.
The cake’s roots go back to the 1800s in Southern baking. It became famous at the Waldorf-Astoria Hotel in New York. There, it showed off its amazing flavors and textures.
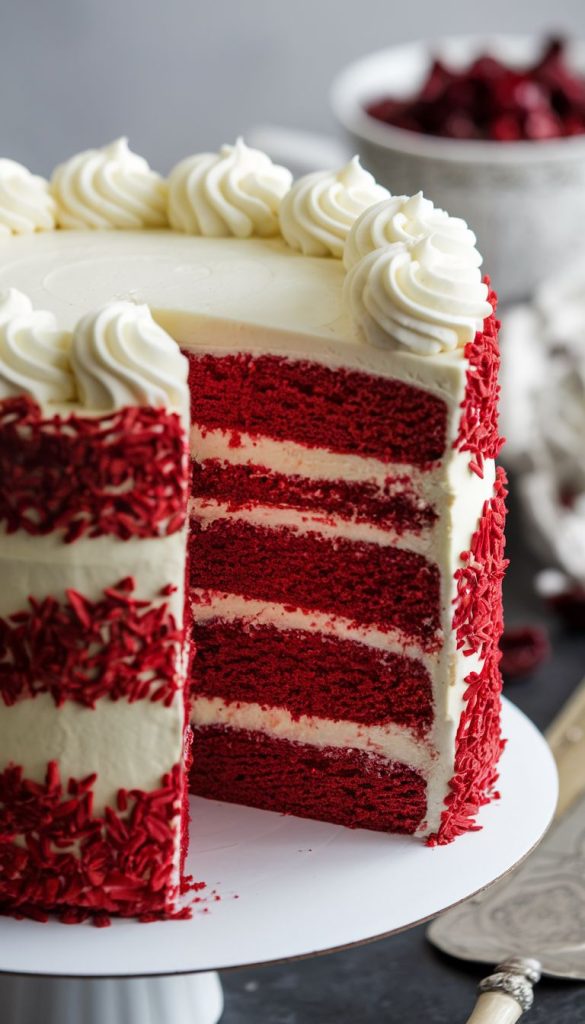
The History of Red Velvet Cake
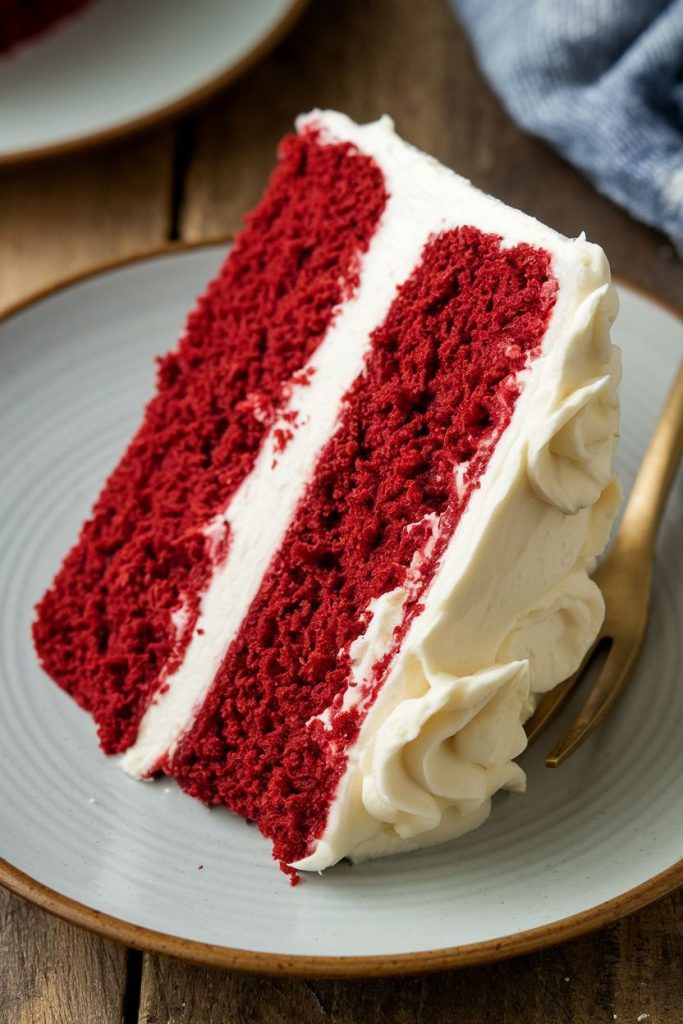
The story of red velvet cake is fascinating. It was once a luxury item. It was made in elegant layers with cream cheese frosting.
Its fame grew, making it a hit across the country. It’s loved during holidays and special times. Its bright color made it perfect for celebrations.
Understanding the Color and Flavor
The taste of red velvet cake is special. It has a mix of cocoa and buttermilk. This makes it unique.
The cake’s red color comes from cocoa and food coloring. It’s beautiful and draws people to it. It’s a star at parties and gatherings.
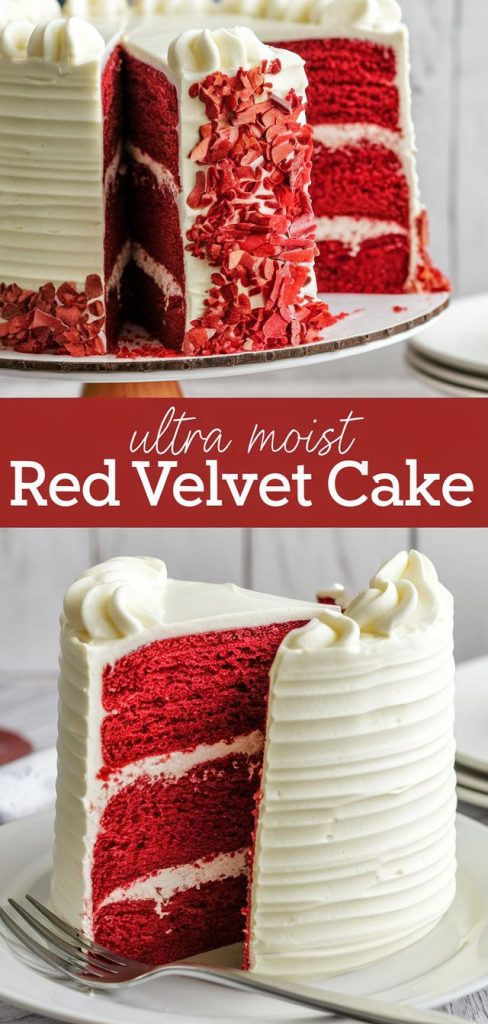
Essential Ingredients for My Red Velvet Cake Recipe
To make the perfect red velvet cake, you need to focus on the right ingredients. Each one adds to the cake’s taste and feel. Knowing these ingredients will make baking more fun and rewarding.
Cocoa Powder: The Key Ingredient
Cocoa powder is key in my recipe. It adds chocolate flavor that’s not too sweet. This ingredient also makes the cake taste richer and deeper, matching its bright color.
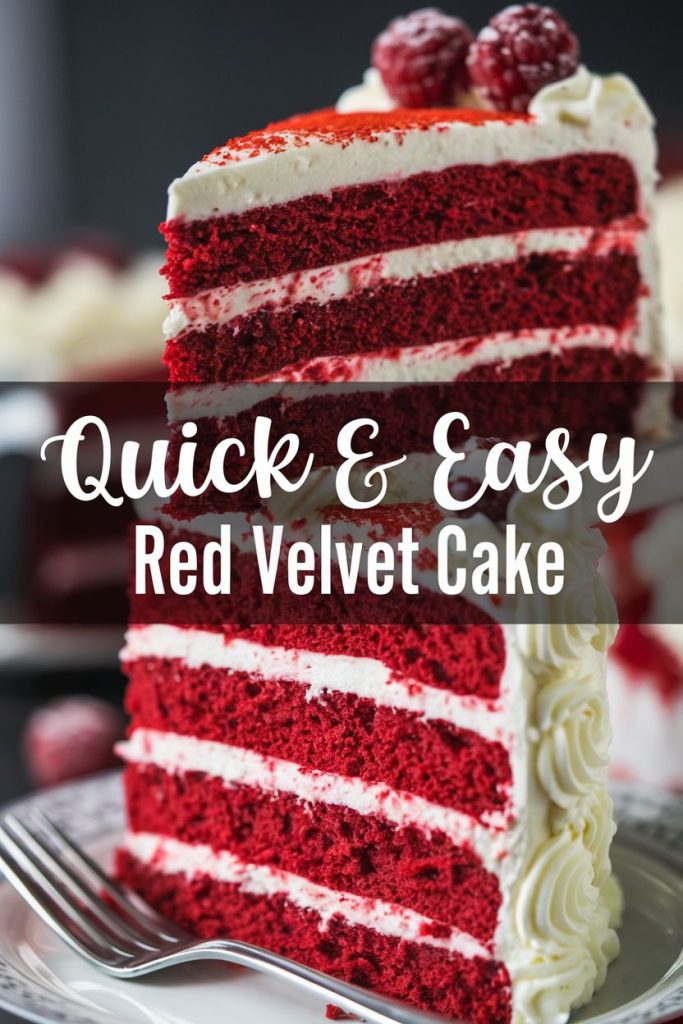
The Role of Buttermilk in Cake Baking
Buttermilk is very important for keeping the cake moist and soft. It works with baking soda to make the cake light and fluffy. Buttermilk also adds a tangy taste that makes the cake even better.
Importance of Food Coloring and Vinegar
Food coloring and vinegar are needed for the cake’s deep red color. This color makes the cake stand out. Vinegar also helps the cake rise and makes the color pop.
Step-by-Step Red Velvet Cake Recipe
Baking a red velvet cake is fun and rewarding. I’ll show you how to do it step by step. First, make sure you have all the tools and ingredients ready.
Ingredients
For the Cake:
- 2 ½ cups (310g) all-purpose flour
- 2 tablespoons cocoa powder (unsweetened)
- 1 teaspoon baking soda
- ½ teaspoon salt
- 1 cup (240ml) buttermilk
- 1 cup (240ml) vegetable oil
- 1 ½ cups (300g) granulated sugar
- 2 large eggs (room temperature)
- 1 teaspoon vanilla extract
- 1 teaspoon white vinegar
- 2 tablespoons red food coloring
- Optional: 1 teaspoon orange zest or ½ cup mashed raspberries (for flavor variations)
For the Cream Cheese Frosting:
- 8 ounces (226g) cream cheese, softened
- ½ cup (113g) unsalted butter, softened
- 4 cups (480g) powdered sugar, sifted
- 1 teaspoon vanilla extract
Step-by-Step Instructions
1. Prep the Tools and Ingredients
- Preheat your oven to 350°F (175°C).
- Grease and line two 9-inch round cake pans with parchment paper.
- Measure out all ingredients and allow eggs and buttermilk to come to room temperature for better mixing.
2. Mix Dry Ingredients
- In a medium bowl, sift together flour, cocoa powder, baking soda, and salt.
- Whisk gently to combine and set aside.
3. Mix Wet Ingredients
- In a large bowl, whisk together buttermilk, vegetable oil, eggs, sugar, vanilla extract, vinegar, and red food coloring.
- If adding orange zest or raspberry puree, mix it into the wet ingredients at this stage.
4. Combine Dry and Wet Ingredients
- Gradually add the dry ingredients to the wet ingredients in batches.
- Gently fold the mixture until just combined, avoiding overmixing to keep the cake light and fluffy.
5. Bake the Cake Layers
- Divide the batter evenly between the prepared cake pans.
- Bake in the preheated oven for 25–30 minutes, or until a toothpick inserted into the center comes out clean.
- Allow the cakes to cool in the pans for 10 minutes, then transfer them to a cooling rack to cool completely.
6. Make the Cream Cheese Frosting
- In a large mixing bowl, beat the softened cream cheese and butter until smooth and creamy.
- Add vanilla extract and mix well.
- Gradually add powdered sugar, 1 cup at a time, beating on low speed until incorporated. Then beat on medium-high until fluffy.
7. Assemble the Cake
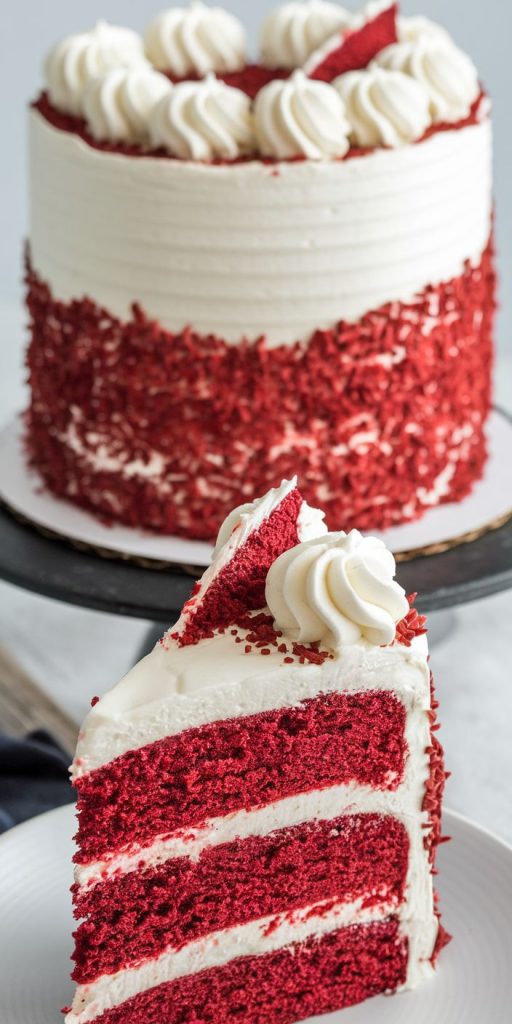
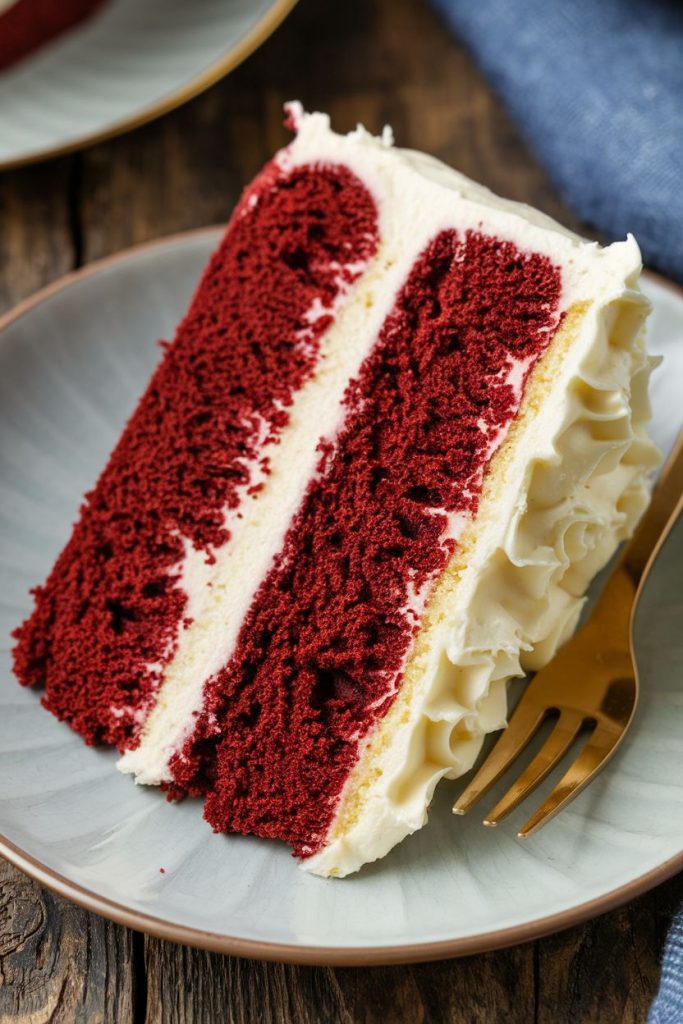
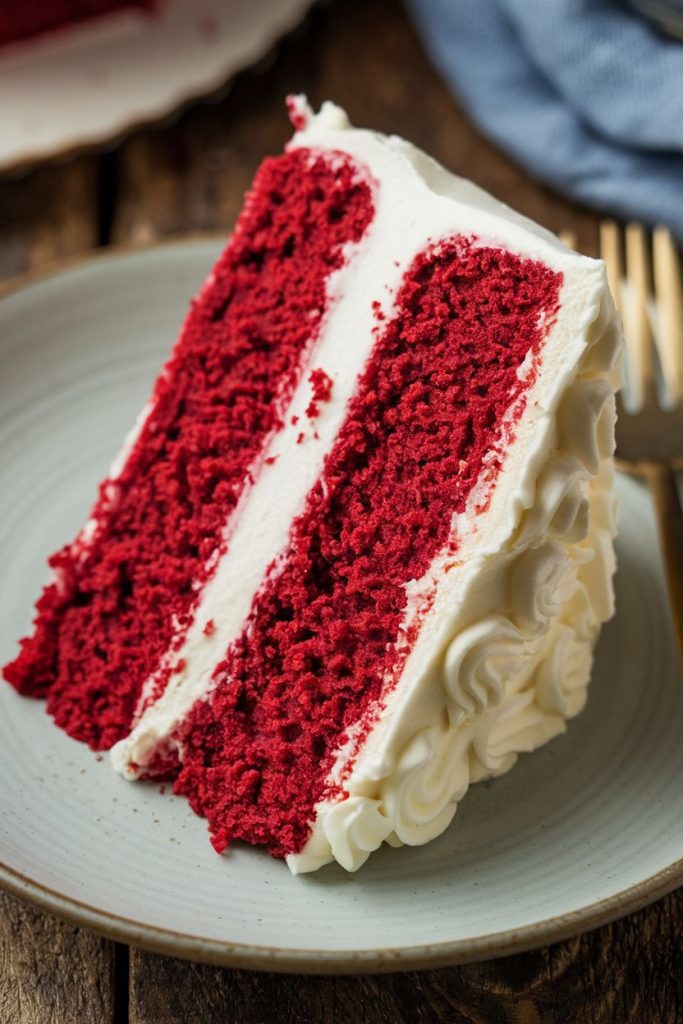
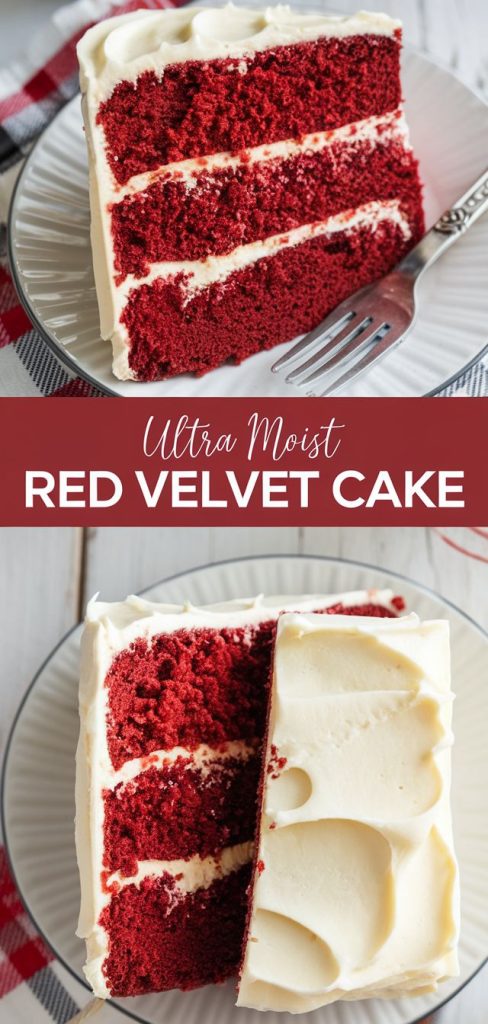
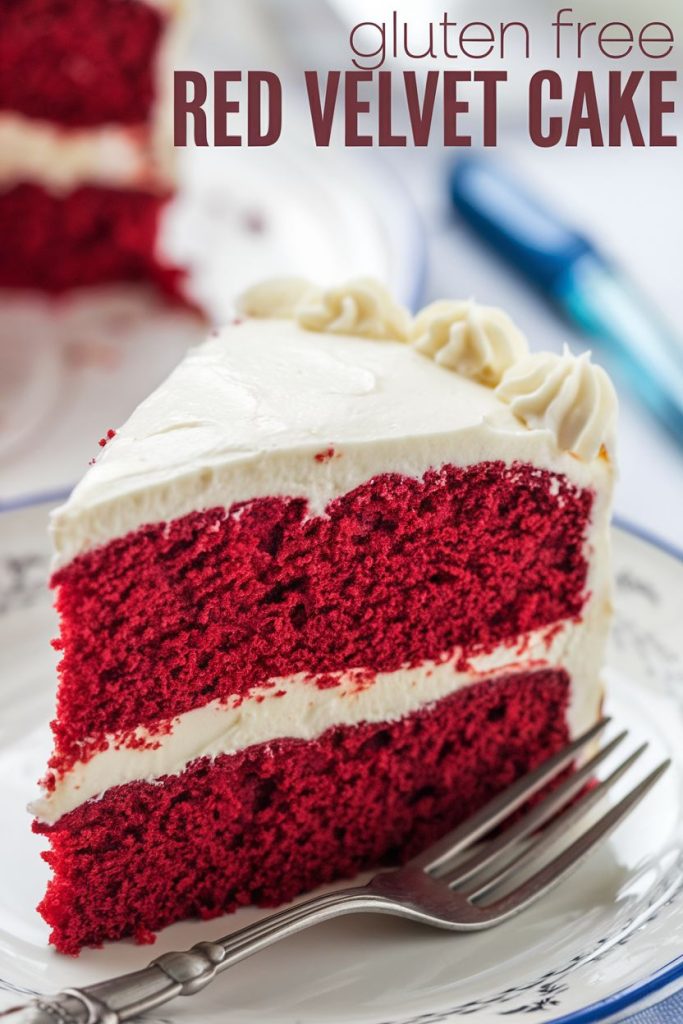
- Place one cake layer on a serving plate or cake stand. Spread a layer of cream cheese frosting evenly over the top.
- Place the second cake layer on top and frost the top and sides of the cake.
- Smooth the frosting with a spatula or create decorative swirls.
8. Decorate and Serve
- Decorate the cake with optional toppings like chocolate shavings, fresh fruit, or edible flowers.
- Slice and serve the cake at room temperature for the best flavor and texture.
9. Storage Instructions
Freeze unfrosted cake layers wrapped in plastic wrap and foil for up to 3 months.
Refrigerate leftovers in an airtight container for up to 5 days.
Tips for Achieving the Perfect Red Velvet Cake
Making a moist and tasty red velvet cake needs careful steps. I’ll share key tips to help you avoid common mistakes. Knowing these mistakes can greatly improve your cake’s texture.
How to Avoid Common Baking Mistakes
To get your red velvet cake just right, it’s important to avoid some common mistakes:
- Overmixing the Batter: Overmixing makes the cake dense. Mix just until combined.
- Incorrect Oven Temperature: Always preheat your oven. Use a thermometer to check it’s right.
- Not Sifting the Dry Ingredients: Sifting removes lumps and makes the texture even.
- Ignoring Ingredient Temperatures: Using room temperature eggs and buttermilk helps the batter mix better.
Achieving the Ideal Texture and Moisture
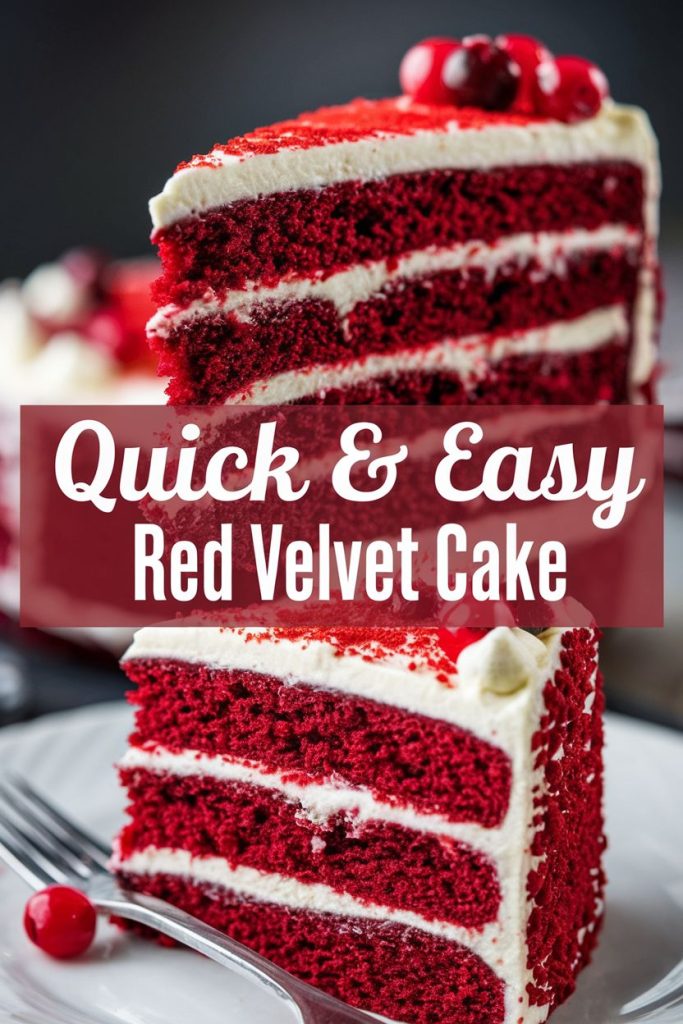
The perfect cake is moist and fluffy. Here’s how to get that:
- Use the Right Amount of Buttermilk: Buttermilk adds moisture and flavor.
- Incorporate Baking Soda and Vinegar: These create a reaction that makes the cake light.
- Check for Doneness: A toothpick should come out clean or a bit moist.
- Store the Cake Properly: Wrap it to keep it moist until serving.
By following these tips, you’ll avoid common mistakes. This will help you make a red velvet cake that’s moist and perfect every time!
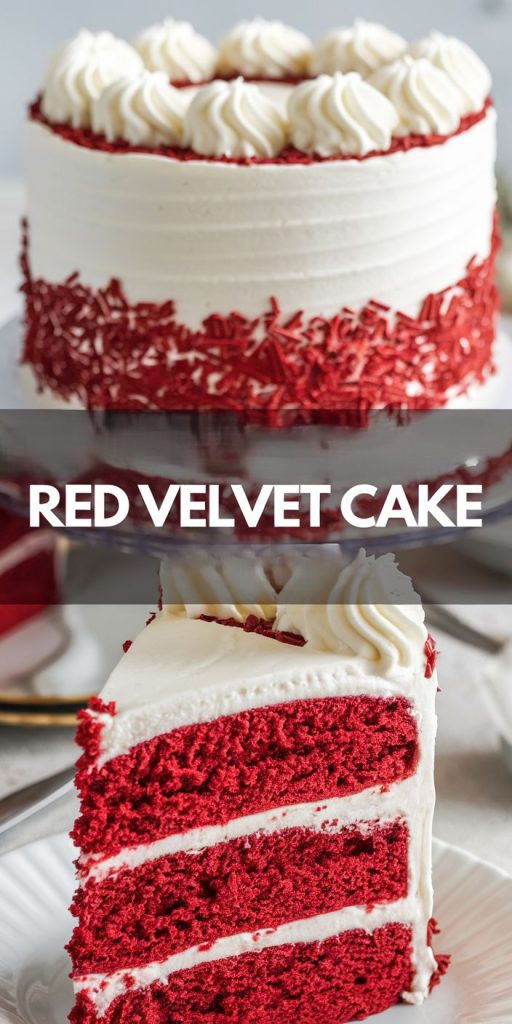
Choosing the Right Frosting for Your Cake
Frosting a red velvet cake is key. Cream cheese frosting is top choice. It’s creamy and tangy, matching the cake’s chocolatey taste.
This frosting adds sweetness but doesn’t overpower. It’s a great pick among frosting options.
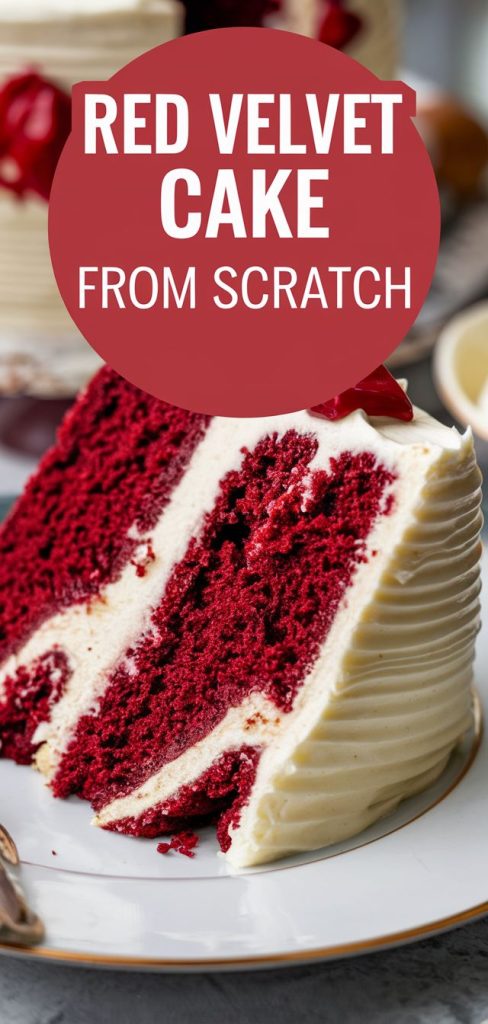
Why Cream Cheese Frosting is the Best Pair
Cream cheese frosting makes red velvet cake better. It’s sweet and tangy, a nice contrast to the cake’s richness. The frosting also makes the cake look smooth and beautiful.
Its velvety texture is perfect for spreading and decorating. It makes your cake look amazing.
How to Make Cream Cheese Frosting from Scratch
Making cream cheese frosting is easy. Here’s a simple recipe:
- 8 ounces of cream cheese, softened
- 1/2 cup (1 stick) unsalted butter, softened
- 4 cups powdered sugar, sifted
- 1 teaspoon vanilla extract
To make this tasty frosting, follow these steps:
- In a bowl, mix softened cream cheese and butter until smooth.
- Add vanilla extract and mix well.
- Slowly add powdered sugar, mixing on low speed. Then, beat on medium-high until fluffy.
Change the frosting’s thickness by adding more powdered sugar or milk.
With homemade cream cheese frosting, your red velvet cake will impress. This frosting makes your dessert a hit, both tasty and beautiful.
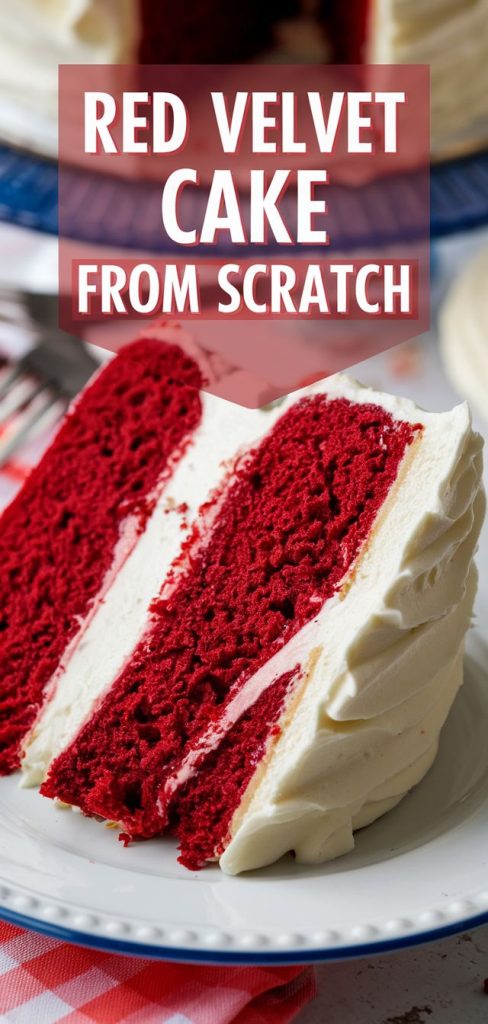
Decorating Your Red Velvet Cake
Decorating cake is fun when you keep it simple. A rich red velvet cake looks great on its own. Here are some easy ways to make it even more beautiful.
Simple Decoration Ideas
Adding simple touches can make your cake look amazing. Try these ideas:
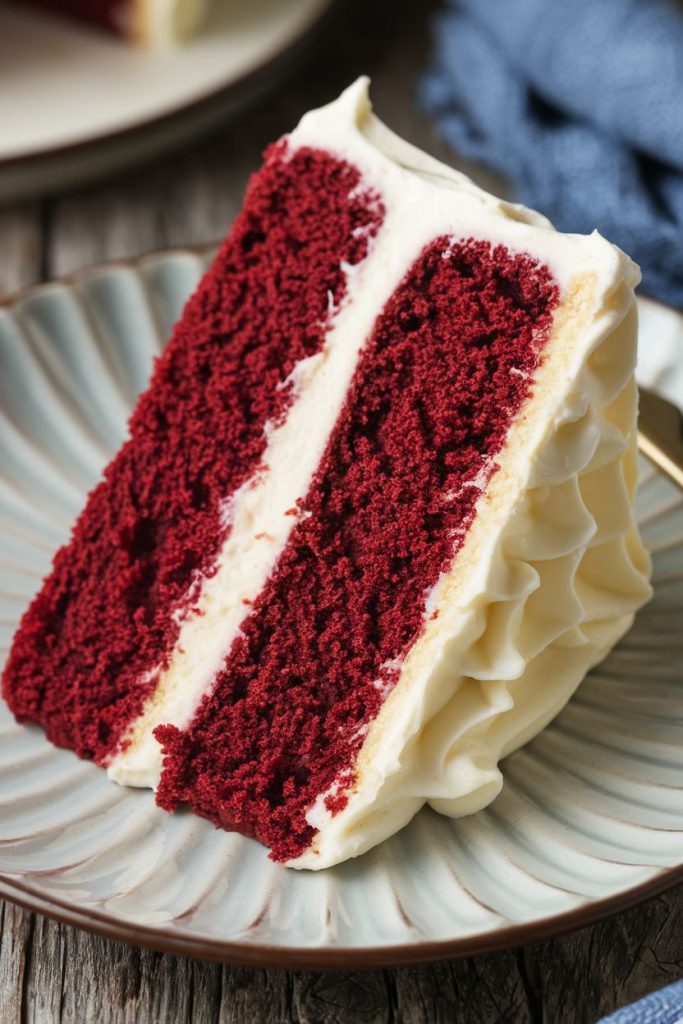
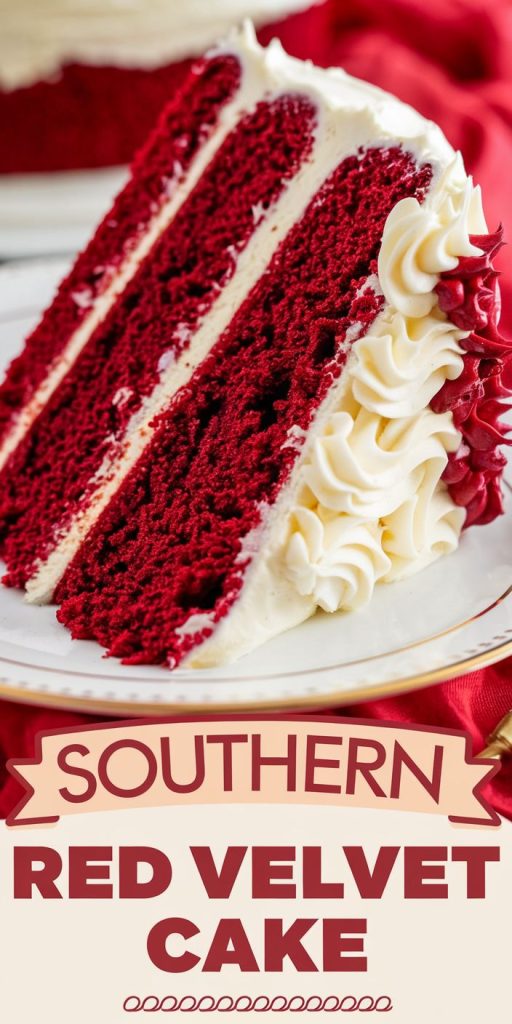
- Swirls of cream cheese frosting around the edges or on top for a classic finish.
- Chocolate shavings sprinkled across the top for added texture and flavor.
- A sprinkle of edible gold dust to give your cake a touch of glamour.
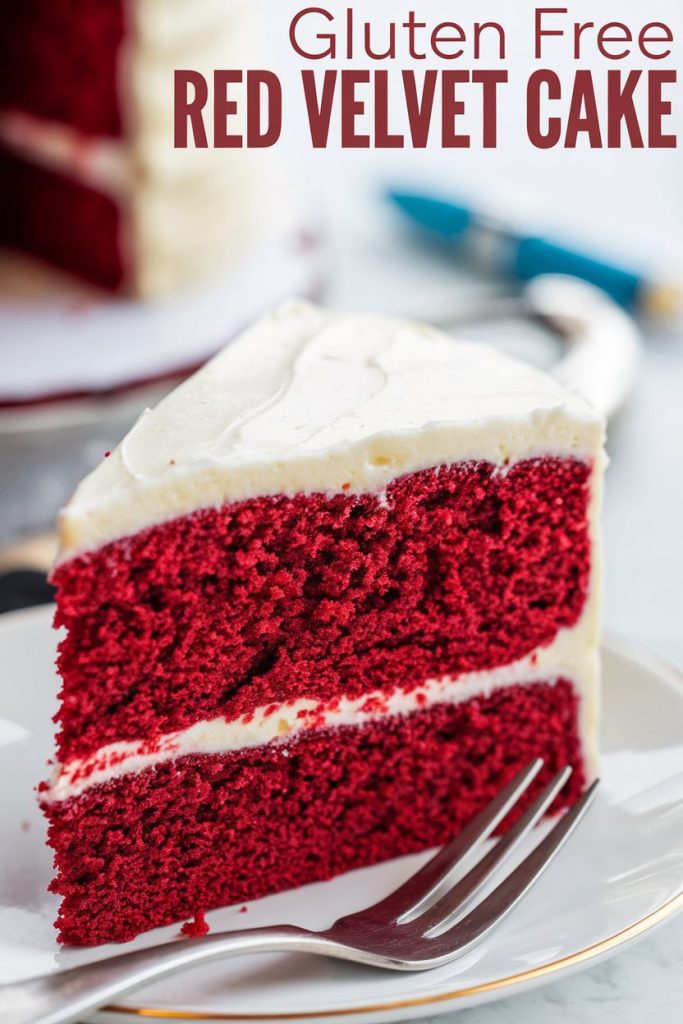
Using Fresh Fruit or Edible Flowers
Fresh fruit or edible flowers add a natural beauty to your cake. Here are some ideas:
- Top with slices of strawberries or raspberries for a pop of color.
- Decorate with blueberries that contrast nicely with the red hue.
- Utilize edible flowers such as pansies or violets, which not only look stunning but also add a unique flavor profile.
Seasonal fruit makes your cake look and taste better. Edible flowers add a whimsical touch. Let the colors and textures of your cake be the main attraction.
| Fruit/Flower | Season | Scent/Flavor |
|---|---|---|
| Strawberries | Spring/Summer | Sweet, fresh |
| Raspberries | Summer | Tart, vibrant |
| Edible Pansies | Spring | Subtle, green |
| Blueberries | Summer | Sweet, tangy |
| Violets | Spring | Floral, sweet |


Storing Leftover Red Velvet Cake
Enjoying a slice of red velvet cake is special. Knowing how to store leftovers is key. This keeps the cake fresh and tasty. I’ll share the best ways to store cake, whether in the fridge or freezer.
Best Practices for Refrigeration
Storing cake in the fridge right is important. It keeps the cake moist and fresh. Here’s how I do it:
- Let the cake cool down before putting it in the fridge.
- Use plastic wrap or foil to keep moisture in.
- Use a cake dome or sealed container for frosted cakes.
- Write the date on the cake so you remember how long it’s been stored.
How to Freeze Cake Layers
Freezing cake layers is a great idea. It keeps them moist and fresh. Here’s how to freeze them right:
- Make sure the cake layers are cool.
- Wrap each layer in plastic wrap, then foil.
- Put the wrapped layers in a freezer bag, squeezing out air before sealing.
- Write the date and type of cake on the bag.
Using these tips will keep your cake fresh. You can enjoy red velvet cake whenever you want. Happy baking!
Variations on the Classic Red Velvet Cake Recipe
Exploring red velvet variations lets me be creative in the kitchen. I love making red velvet cupcakes. They’re great for parties or any special event.
Red Velvet Cupcakes: A Fun Twist
Red velvet cupcakes are moist and tangy, just like the cake. But they’re easy to hold. I like to top them with cream cheese frosting for a pretty look.
These cupcakes are not only pretty. They’re also easy to share at gatherings.
Adding Flavors: Raspberry or Orange Infusion
Want to make your red velvet special? Try adding raspberry or orange flavors. Raspberries add a fruity twist that goes well with cocoa.
Orange juice brightens the cake, perfect for spring. These flavors make red velvet exciting again.